cockpit
Cockpit is an open-source and easy to use web-based interface to manage a Linux system. It has features for users who may be new to Linux administration and provides information helpful to experienced administrators. By default, Cockpit will use the same user accounts that are present on the system. If the system is configured to use a directory service, Cockpit will forward the authorization to the directory service.
There are also other software packages supported to integrate with cockpit. It is available in distribution packages for Red Hat distros, Debian based distros, and Arch distros.
Installation
For the most up to date instructions for multiple distributions that are supported, check the official site.
Example Red Hat install
On Fedora and Enterprise Linux distributions:
sudo dnf install cockpitsudo systemctl enable --now cockpit.socketNext steps
After installing cockpit packages, ensure the system service is running and to remotely access the web portal, port 9090 needs to be open in the system firewall.
Firewalld rules
#Firewalld commands
sudo firewall-cmd --permanent --add-service=cockpit
sudo firewall-cmd --reload
Once the firewall has been opened, open a connection to port 9090 on the associated server in your browser. If you installed on your local system, use localhost as the address.
https://IP_OR_HOSTNAME:9090/
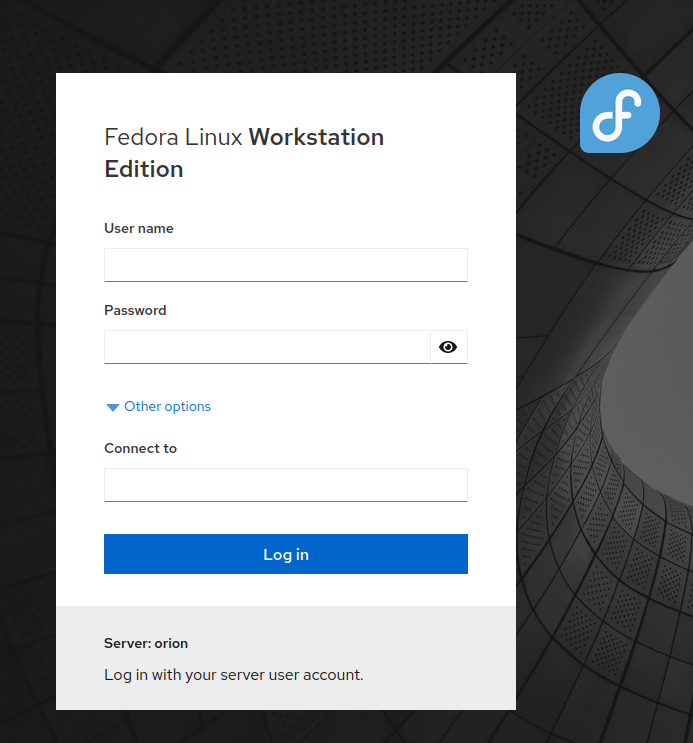
You should see a login page where you can login to the local system or a remote one.
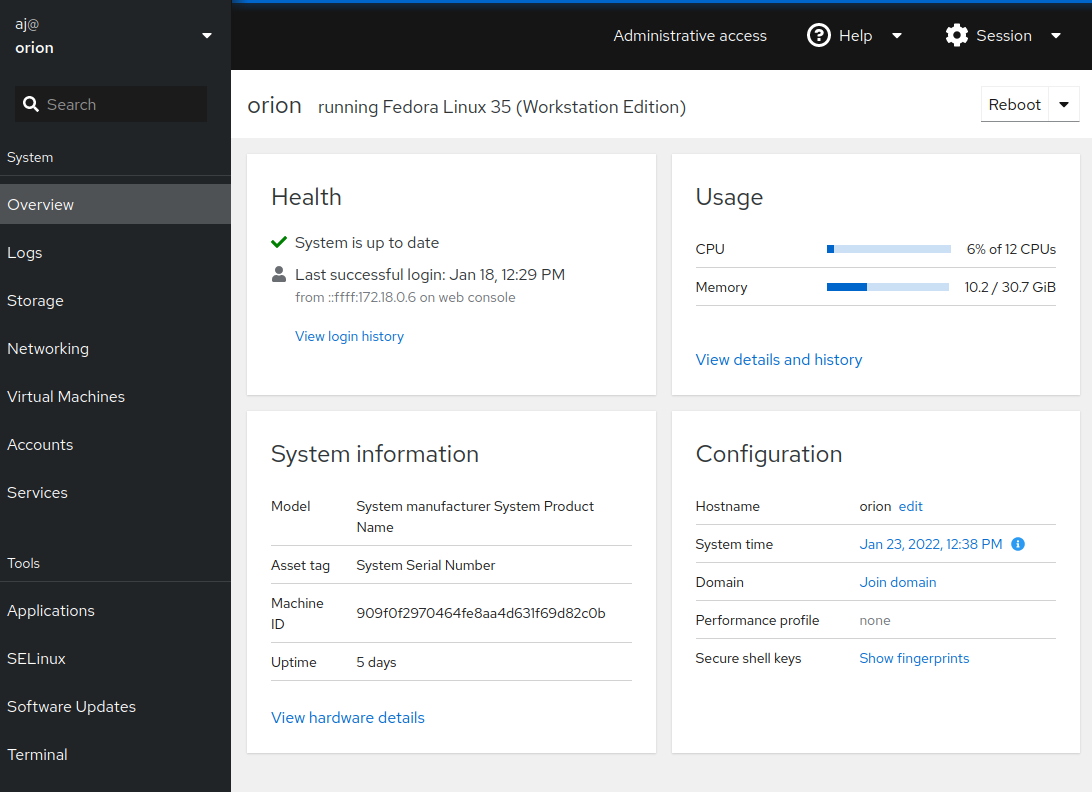
Upon successful login, the home page will open with the navigation menu on the left:
Applications
On the lefthand navigation menu under Tools > Applications
You can install addons to the cockpit application. For example, installing the “Machines” addon allows you to control KVM hypervisor virtual machines from the cockpit application and access a VNC console to the virtual machine.
Machines
Once the “Machines” addon is installed along with KVM/QEMU hypervisor, the “Virtual Machines” tab will appear on the lefthand navigation menu.
If you are not familiar with installing the KVM hypervisor on Linux, check out a previous post on the topic. If you have existing virtualmachines created with libvirt they will appear in the “Virtual Machines” menu.
You can start and stop vms, clone, rename, and delete vms from here.
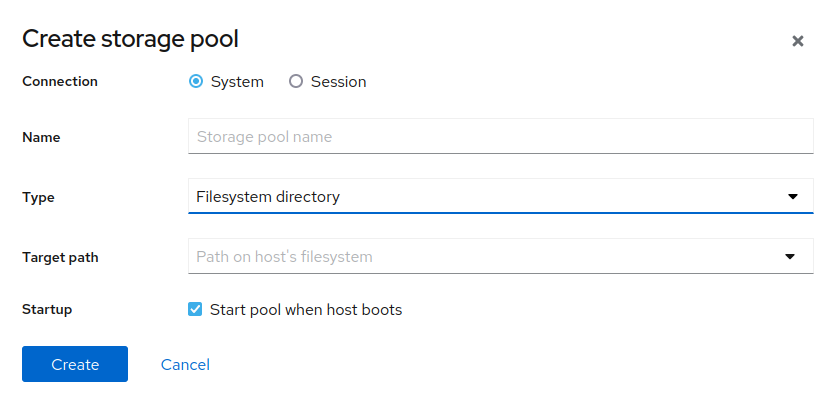
Create a storage pool
A storage pool is a directory that is configured to store virtual machine disk images. It can be a local filesystem, iSCSI, or NFS share. To create a new one, select “Storage Pools” > “Create storage pool”
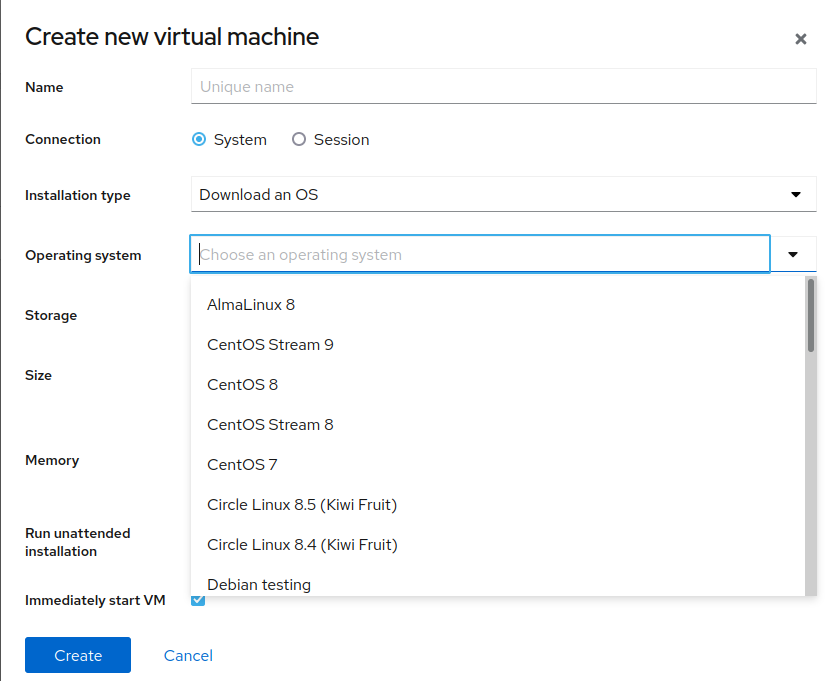
Create a VM
Select “Create VM” and here you can
- Download some pre-defined Linux distributions directly
- Import a vm template image (qcow2 format)
- PXE (network install)
- Point to a .iso image that contains installation media to mount inside the vm
Once you select an installation type, you can allocate storage space and memory from the host. Once you create the vm, it will be accesible with a VNC console in the cockpit application.