Getting Started with Excalidraw
If you’ve ever wished diagramming tools felt less like enterprise software and more like grabbing a marker and sketching on a whiteboard, you will like Excalidraw. It’s fast, intuitive, works offline, supports collaboration, and keeps things simple without getting in your way.
This post walks you through installation options and essential usage.
What Is Excalidraw?
Excalidraw is an open-source, zero-friction virtual whiteboard that produces hand-drawn-style diagrams. It’s used by engineers, product teams, DevOps, architects, and teachers.
Key highlights:
- Free and open-source
- Works in browser or as a desktop app
- Offline support
- Real-time collaboration
- A massive library ecosystem (AWS icons, k8s shapes, UML, etc.)
1. Installation Options
Use the approach that best fits your workflow.
Option A: Use the Web App (Fastest)
Open:
You’re drawing immediately. No sign-ups, no login, no clutter.
Option B: Desktop App (Windows / macOS / Linux)
Download from GitHub:
https://github.com/excalidraw/excalidraw-desktop/releases
Choose the installer for your OS:
.dmgfor macOS.exefor Windows.AppImageor.debfor Linux
Run it like any other application and you’re in.
Option C: Self-Hosted with Docker
If you want your own instance for a homelab, team, or offline environment, run:
docker run -d \
  --name excalidraw \
  -p 3000:80 \
  excalidraw/excalidraw
Then visit:
http://localhost:3000
Option D: Excalidraw Inside Obsidian
Obsidian + Excalidraw is a powerhouse combo for personal documentation.
- Obsidian -> Settings -> Community Plugins
- Browse -> search for Excalidraw
- Install & enable
- Create diagrams directly inside notes
Interface Overview
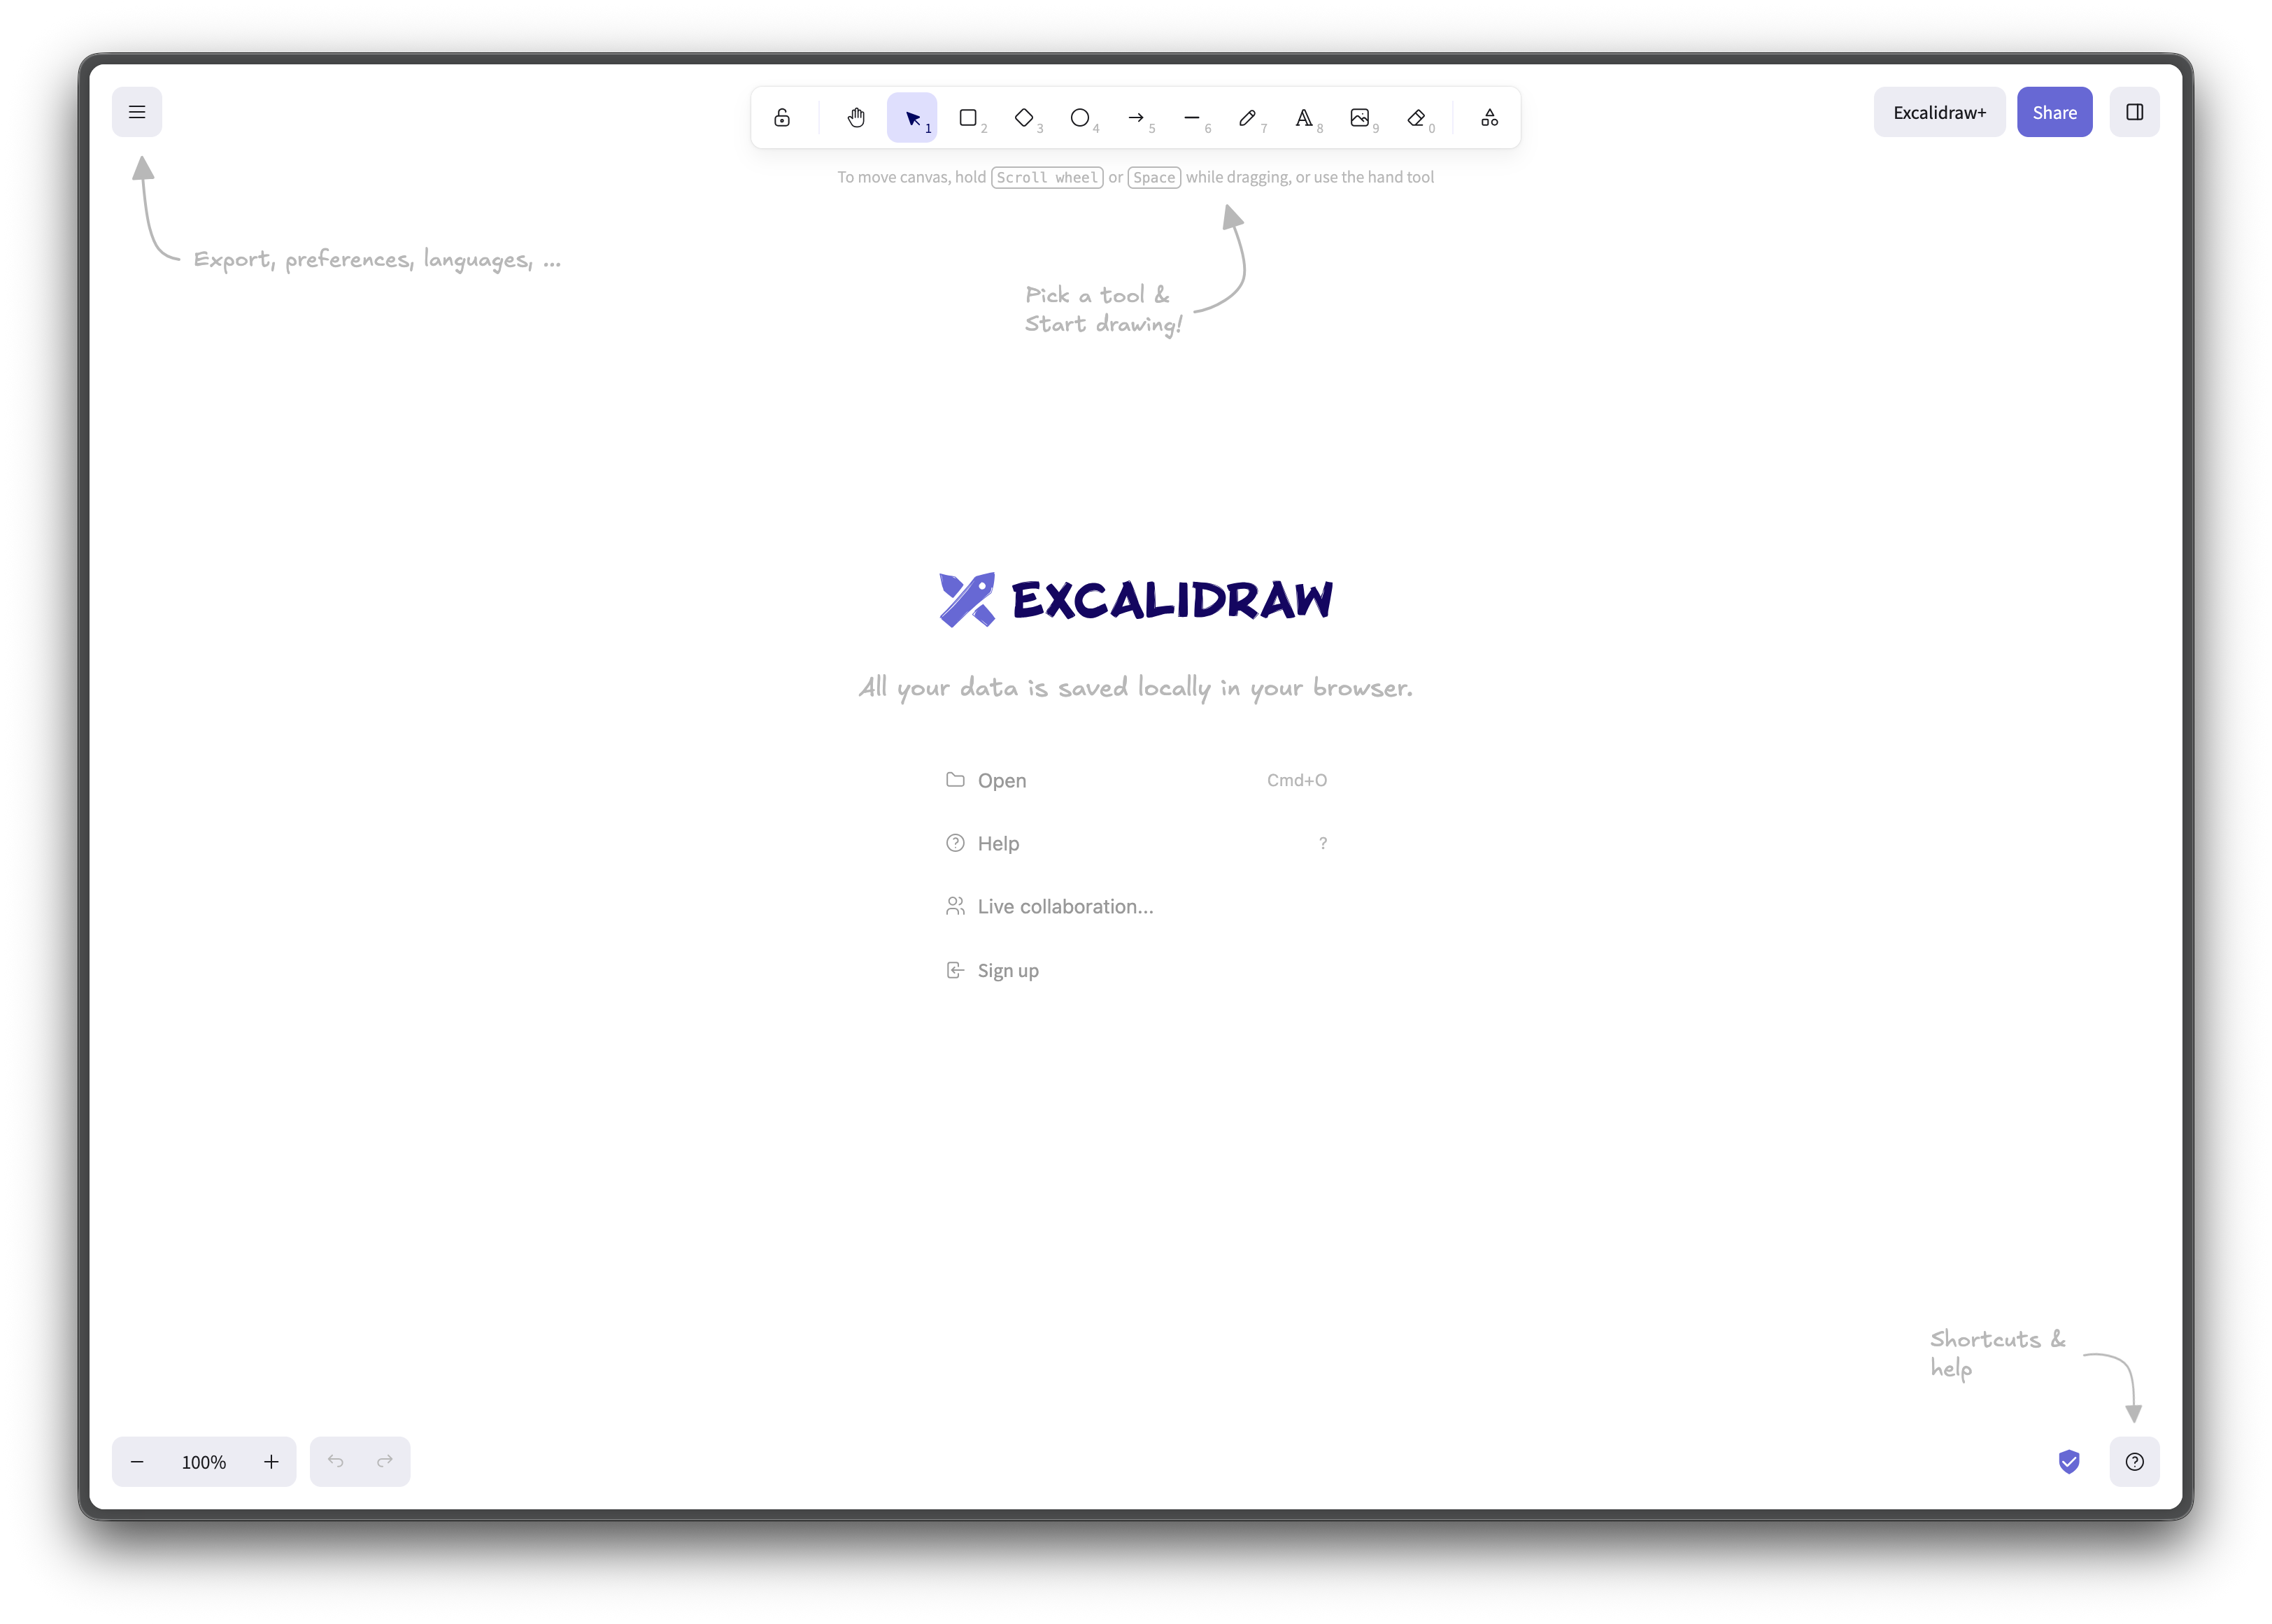
No matter how you installed, the UI should look similar.
The UI is deliberately minimal:
- Left Toolbar: settings, theme, save/export
- Top Bar: shapes, arrows, text, freehand
- Right Sidebar: sharing, libraries
- Bottom Bar: zoom controls, undo/redo, help
Core Drawing Tools
Shapes & Text
Keyboard shortcuts:
- R -> Rectangle
- O -> Ellipse
- X -> Draw
- A -> Arrow
- T -> Text
- P -> Pen
Hold
Connectors
Arrows auto-snap to shapes and stay attached even when you move items. This works well for architecture and flow diagrams.
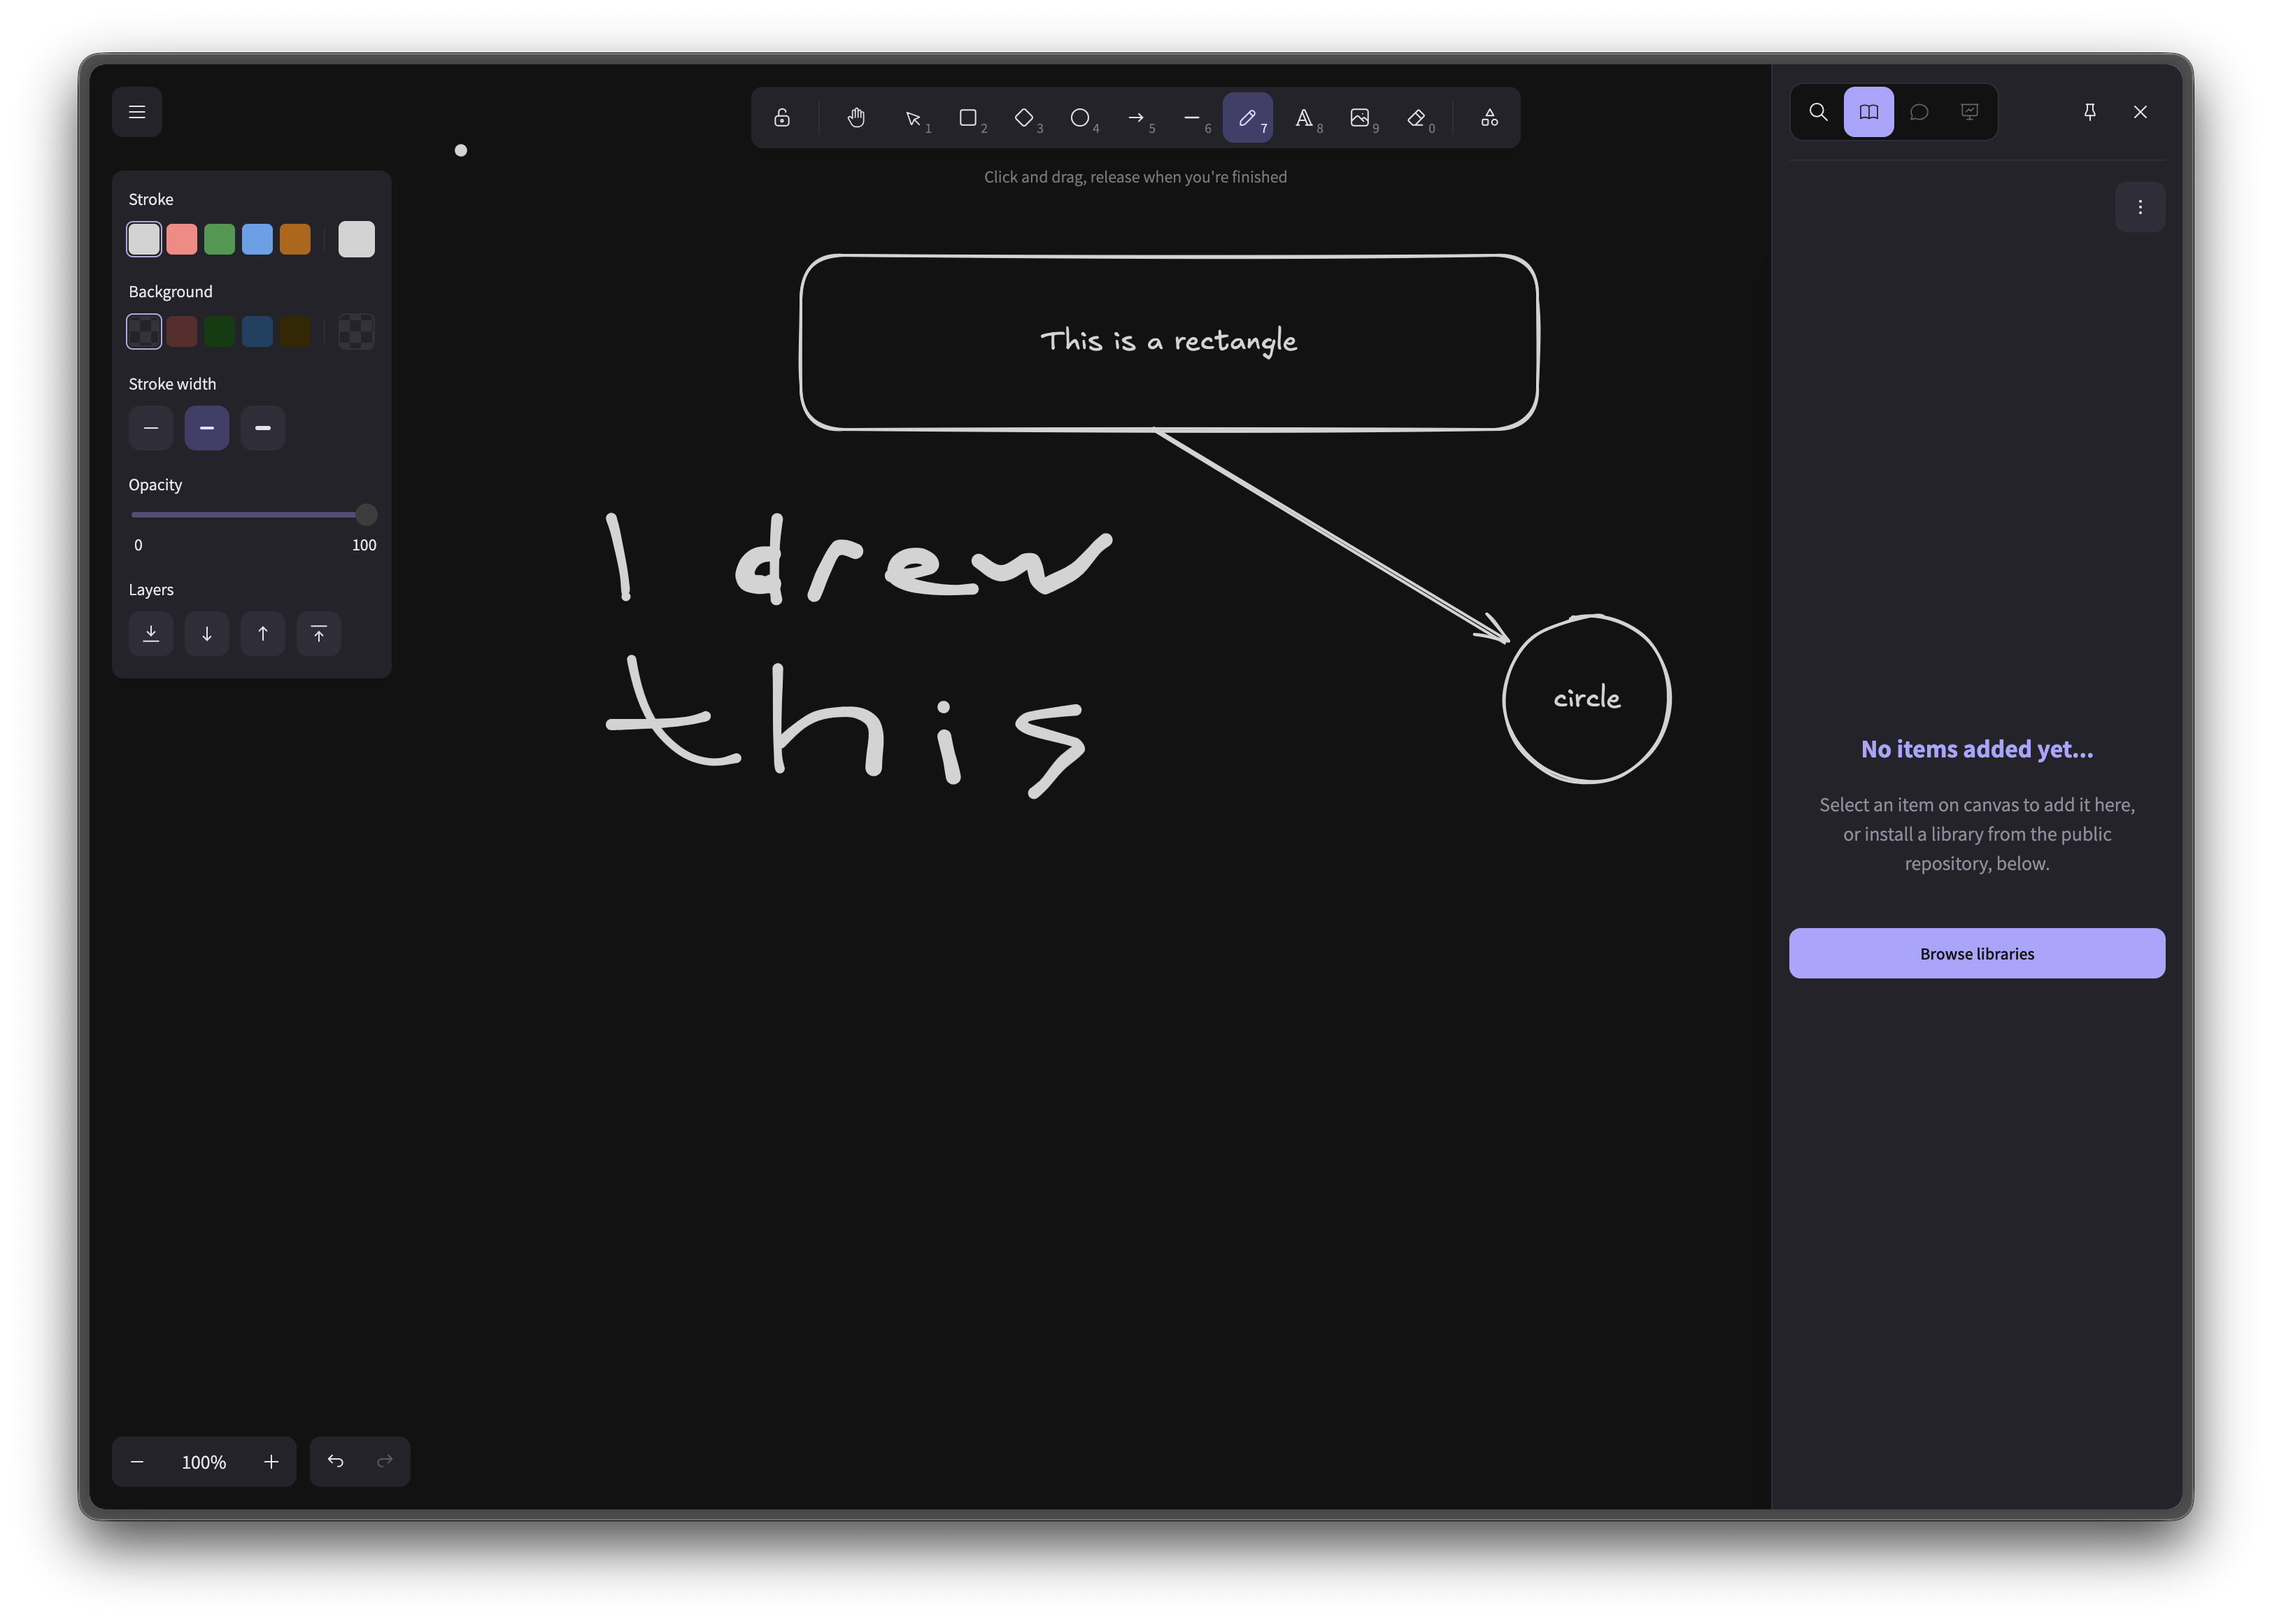
Styling
Use the left panel for:
- Stroke width
- Stroke style
- Background color
- Arrowheads
- Fonts
- Sloppiness
You can make something appear hand-drawn or appear clean and proportional.
Libraries
Open the right menu -> Library -> Select “Browse libraries”
This will allow you to find community created icons like:
- AWS / GCP / Azure icons
- Kubernetes shapes
- UML blocks
- Flowchart elements
Collaboration
If you use the hosted version: - Click Live Collaboration - Share the link - Work together in real time if you each have network access to each other
No logins required.
Closing thoughts
I do not make enough diagrams for my blog but I do make a lot of diagrams for my job. This tool is one I use frequently at work.