Ghostty Terminal Emulator
Why I Finally Switched Terminal Emulators After a Decade
It’s rare that I change the core tools in my daily workflow. For years, my terminal emulator has been as constant as my morning coffee. A terminal emulator is how developers interact with their computers using text-based commands, connect to remote servers via SSH, and navigate the depths of their operating systems. For someone like me who opens SSH sessions multiple times a day (and has for decades), the terminal is second-nature when using a computer.
My terminal journey started back in 2009 when I first experimented with Fedora Linux as a desktop OS. Back then, much of Linux required terminal expertise, especially when wrestling with cryptic X.org configurations. GNOME Terminal was my first experience having to use a terminal. That Linux experiment was short-lived, though, and I regrettably jumped ship to Windows 7, where my terminal usage went dormant.
Fast forward to 2014, and I was thrust back into terminal territory through university Java programming. Between NetBeans 7 and Eclipse Kepler, neither IDE had an integrated terminal, so I found myself reluctantly using Windows Command Prompt.
Everything changed in 2015. Frustrated with my noisy, cumbersome Windows laptop disrupting university lectures, I sold it and bought a MacBook Pro. Shortly after making the switch, I discovered a developer tools setup guide that introduced me to an ecosystem I still use today:
- iTerm2 - My terminal emulator for nearly a decade
- ZSH - A powerful shell with extensive customization
- oh my zsh - Framework for managing ZSH configuration
- fzf - Fuzzy finder for blazing-fast file navigation
- vim - My text editor of choice
- tmux - Terminal multiplexer for session management
- QEMU & VirtualBox - Virtualization tools for development environments
For almost ten years, iTerm2 was my unquestioned terminal of choice on macOS. Perhaps I stayed so long because I never dove deep into its advanced features. What I valued was simple: SSH support, effortless tab management, and that satisfying background blur effect (that last one is purely aesthetic).
Enter Ghostty: The New Contender
Then came 2025. I started hearing about Ghostty on social media, a new terminal emulator from Mitchell Hashimoto, the creator of Terraform and co-founder of HashiCorp. Given my years of experience with Terraform for infrastructure as code, I was curious enough to give Ghostty a chance.
I’m not one for hyperbole, but Ghostty has genuinely impressed me. It surpasses iTerm2 in several key areas, particularly when it comes to macOS integration. The performance is noticeably snappier, and while some users might balk at configuring via a text file instead of a GUI, I’ve found Ghostty hits 95% of my needs out of the box. My entire custom configuration is just five lines, three of which are purely cosmetic.
Migration was surprisingly painless. Many key bindings mirror standard macOS conventions, making the transition feel natural rather than jarring. One feature I relied on heavily in iTerm2, split panes, works even better in Ghostty. ⌘+D splits your window into two terminals, and ⌘+[ switches between panes. The responsiveness is noticeably better than iTerm2.
But here’s what really sold me: word navigation using Option+arrow keys. This might seem trivial, but it’s one of those micro-optimizations that adds up over thousands of interactions. I honestly can’t remember if iTerm2 supports this by default now, but I recall spending time configuring custom escape sequences to make it work. In Ghostty, it just works that way by default and I assume you can disable it if you want.
What Makes Ghostty Different
Ghostty is a fast, feature-rich, and now cross-platform terminal emulator that uses platform-native UI and GPU acceleration. Unlike many modern terminal emulators that sacrifice native feel for cross-platform consistency, Ghostty takes a different approach. It uses Metal rendering on macOS and provides a platform-native GUI while remaining fully cross-platform.
The performance benefits come from its architecture. Ghostty uses OpenGL on Linux and Metal on macOS for rendering, making it one of the few terminal emulators that uses Metal directly. It’s also the only Metal-based terminal that supports ligatures without falling back to CPU rendering.
Perhaps most importantly for developers, Ghostty requires zero configuration to get up and running. While extensive customization options exist for those who want them, you can install Ghostty and immediately start working.
Installation Guide
macOS Installation
The easiest way to install Ghostty on macOS is through Homebrew. Ghostty requires supported macOS versions and works as a universal binary on both Apple Silicon and Intel machines.
Using Homebrew (Recommended):
# Update Homebrew first
brew update

# Install the stable release
brew install --cask ghostty
If you prefer to test latest features, you can install the “tip” version that tracks the latest development builds from GitHub:
# Install the latest development build
brew install --cask ghostty@tip
Manual Installation:
Alternatively, you can download the DMG file directly:
- Visit ghostty.org/download
- Download the macOS DMG file
- Open the DMG and drag Ghostty to your Applications folder
- Launch Ghostty from your Applications folder
Linux Installation
Linux users have different installation options depending on their distribution. In fact as of this post, Linux support for Ghostty was only recently released to the public. Over time I expect the mainstream distros to package it in main repos.
Arch Linux:
Ghostty is available in the official Arch repository:
sudo pacman -S ghosttyFor the latest development version, you can install from the AUR:
# Using yay
yay -S ghostty-git

# Or using paru
paru -S ghostty-git
Ubuntu/Debian:
A community-maintained Ubuntu package is available from ghostty-ubuntu on GitHub:
- Visit the ghostty-ubuntu releases page
- Download the appropriate
.debfile for your Ubuntu version - Install using:
sudo apt install ./ghostty-*.debFedora:
Ghostty is available through Fedora COPR:
# Enable the COPR repository
sudo dnf copr enable scottames/ghostty

# Install Ghostty
sudo dnf install ghostty
Basic Configuration
One of Ghostty’s strengths is its simplicity. The configuration file uses a straightforward key = value syntax that’s easy to understand and modify.
Create your configuration file at:
- macOS:
~/.config/ghostty/config - Linux:
~/.config/ghostty/config
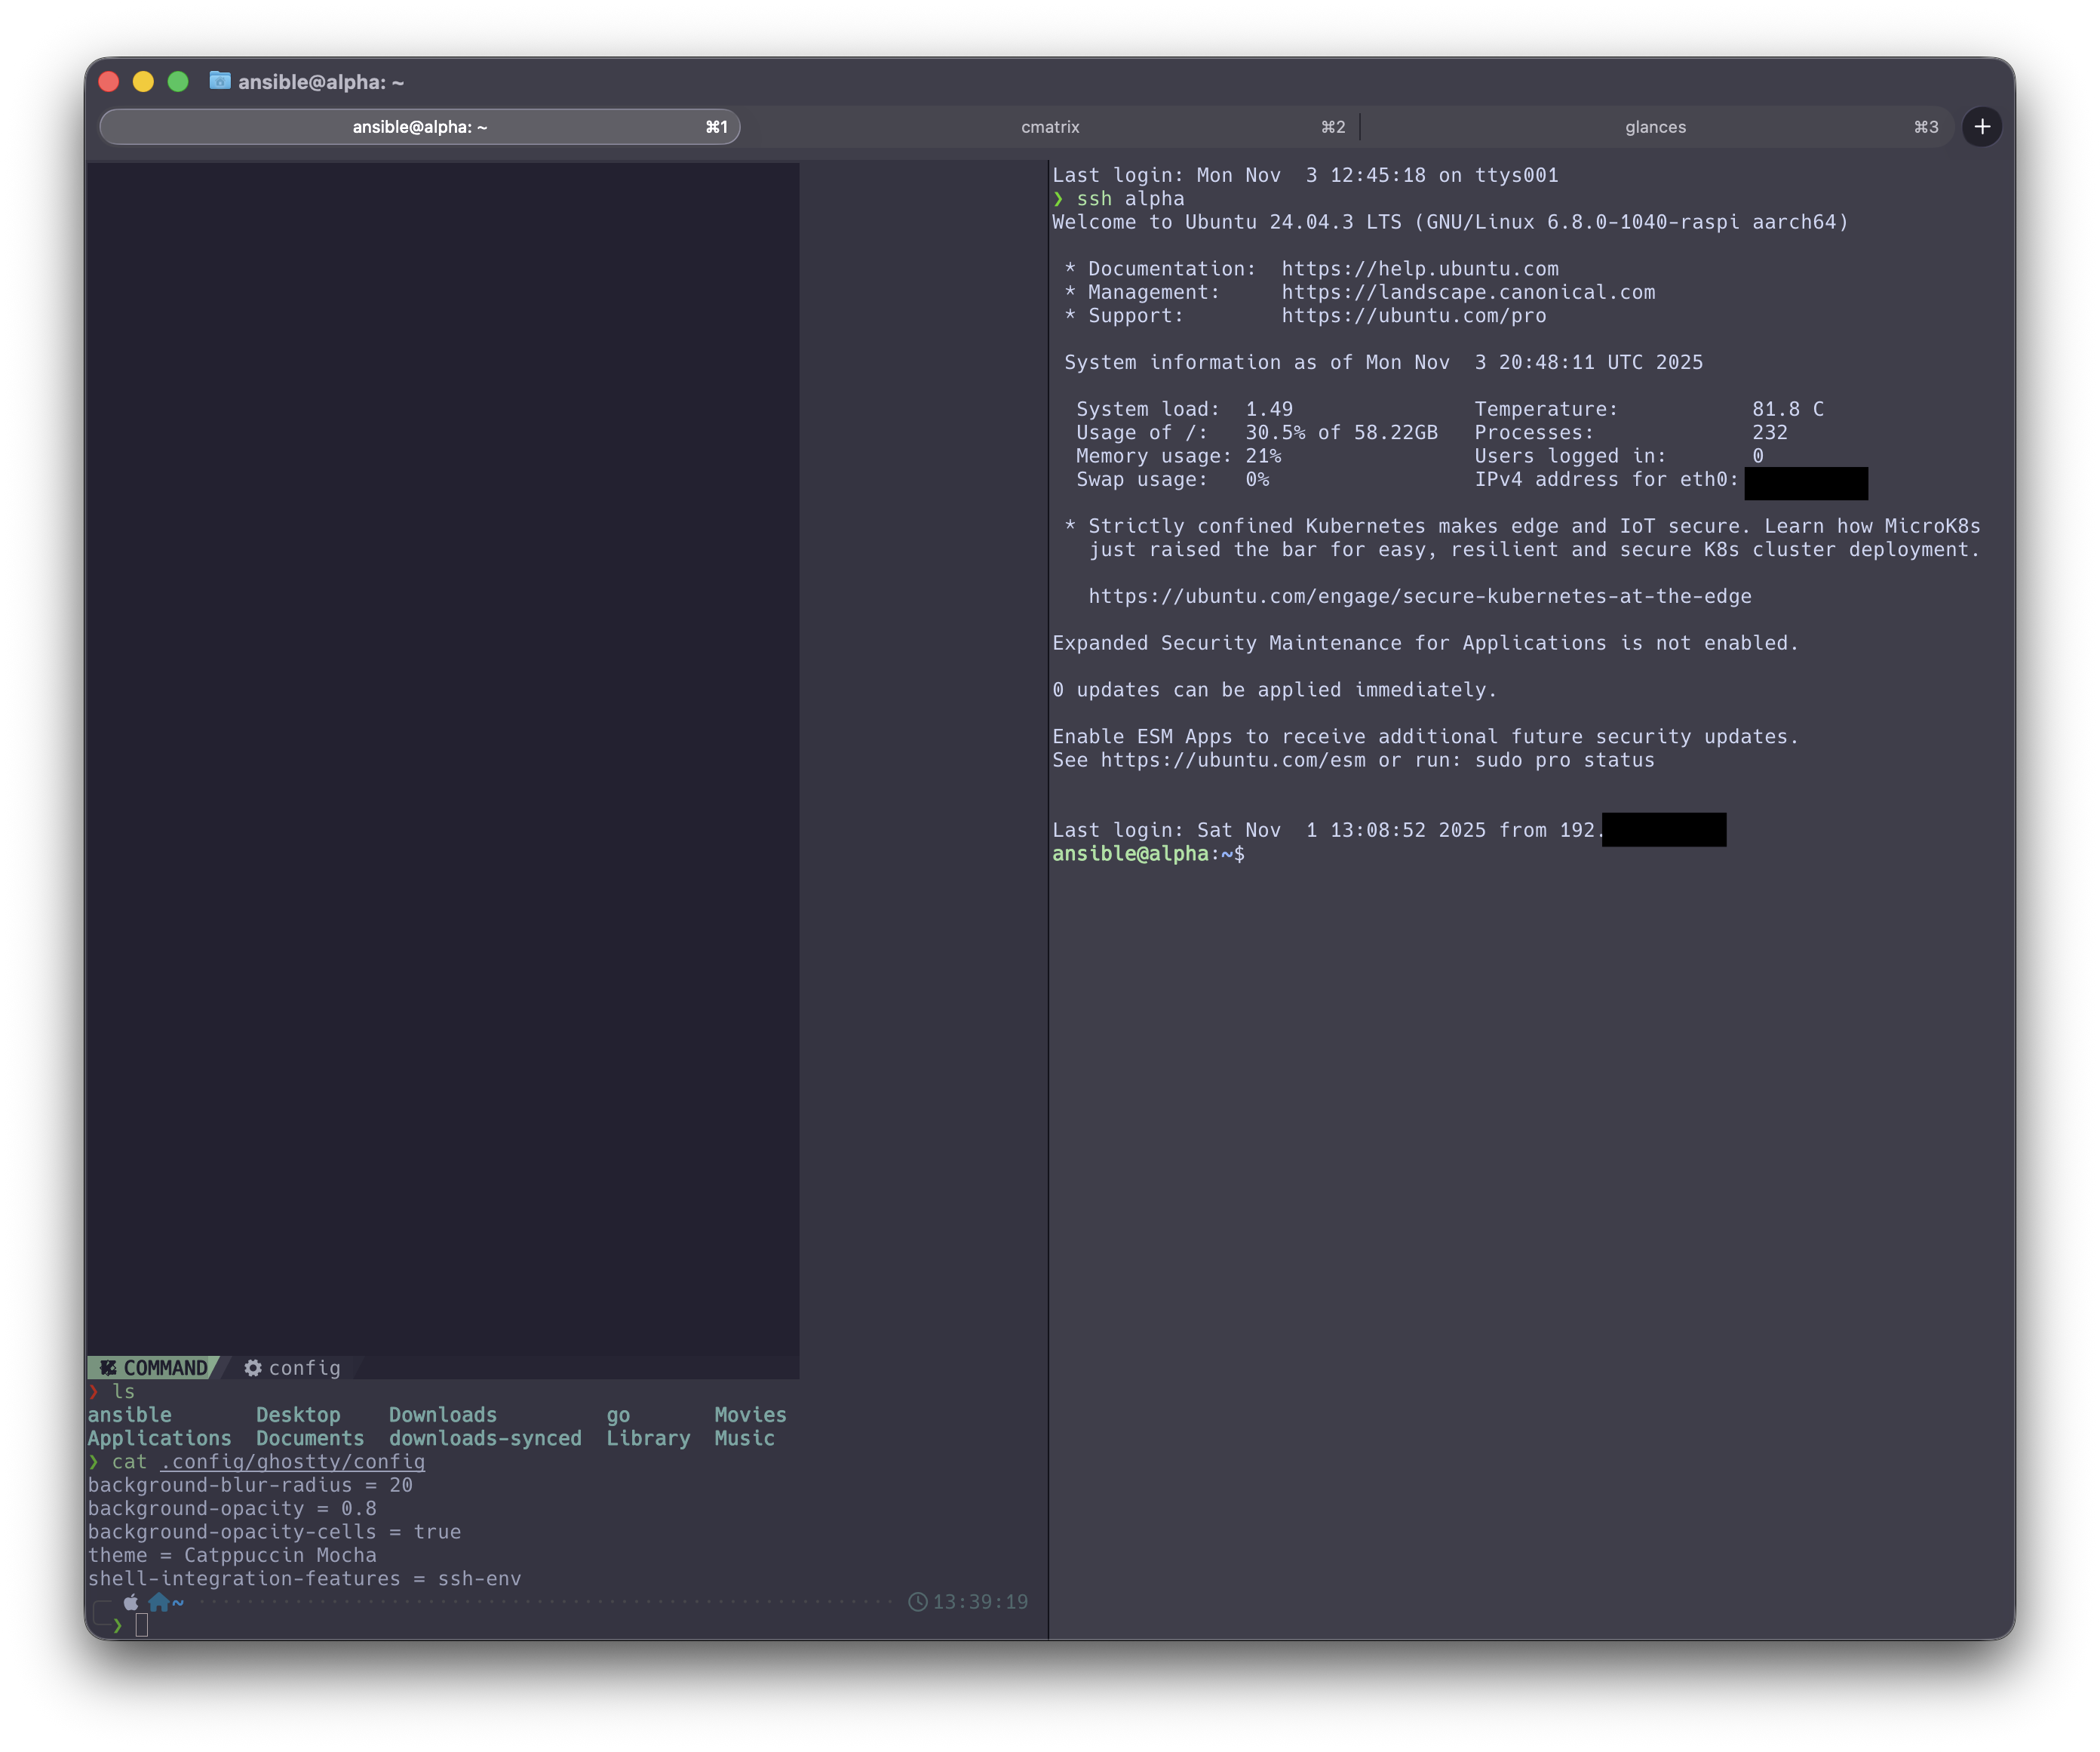
Here’s a minimal configuration to get started:
theme = Catppuccin Mocha
shell-integration-features = ssh-env
Ghostty ships with hundreds of built-in themes and supports different themes for light and dark mode. You can see all available themes by running:
ghostty +list-themesMy favorite is the one I put in that snippet.
Essential Keyboard Shortcuts
Ghostty uses intuitive keyboard shortcuts that feel natural on macOS:
- ⌘+D - Split pane vertically
- ⌘+Shift+D - Split pane horizontally
- ⌘+[ and ⌘+] - Navigate between panes
- ⌘+T - New tab
- ⌘+W - Close current tab/pane
- Option+→ and Option+← - Jump forward/backward by word
- ⌘+K - Clear screen
SSH and Remote Connections
If you’re connecting to remote servers via SSH, you might encounter a terminfo warning since Ghostty uses a custom terminal type (xterm-ghostty). One solution is to use the config option in my snippet above to change the env var in SSH sessions to one that should be supported everywhere: TERM=xterm-256color
This one-time setup ensures remote systems recognize Ghostty’s terminal capabilities properly. Over time hopefully distros update their terminfo to include Ghostty.
Why Ghostty Wins for Me
After weeks of daily use, Ghostty has earned its place as my default terminal. It’s faster than iTerm2, feels more native to macOS, and requires almost no configuration to match my workflow. The split pane feature is more responsive, word navigation works perfectly out of the box, and the overall experience feels polished and thoughtful.
For developers who value performance, native platform integration, and simplicity over complexity, Ghostty represents exactly what a modern terminal emulator should be. It’s proof that you don’t need to compromise between speed, features, and native feel.
If you’ve been comfortable with your current terminal for years like I was with iTerm2, I encourage you to give Ghostty a try. Sometimes the best tools are the ones that get out of your way and let you focus on the work that matters.
Resources:
New disclaimer I am adding: I used an LLM to help create this post but afterwards I spent more than an hour editing it to the final form.