Set up a fully featured editor with LazyVim
I have used vim and vi for a long time after I needed to learn a command-line only text editor for my first job deploying and managing server racks. Eventually I started using neovim as it was easier for me to customize than learning vimscript. Since neovim uses Lua for configuration, it was easier for me to learn the syntax. I only customized a few features though because I do not like spending a lot of time reviewing config files just to get beyond the “80 percent” of use cases I need in my editor.
Recently I am spending even more time in the terminal that I have previously. With the rise of so many agentic coding tools that are terminal-based, I prefer to stay in my terminal emulator instead of hopping between an IDE like Visual Studio Code or Zed or even an “AI-first” IDE like Cursor.
LazyVim is worth using if you want a serious Neovim setup without spending weeks duct-taping plugins together, debugging breakage, and reinventing the same config everyone else already solved. It gives you an opinionated, batteries-included environment built on lazy.nvim, with sane defaults for LSP, treesitter, formatting, Git, testing, and modern UI features. Unlike random “starter” configs, it’s actively maintained, modular, and easy to extend, meaning you can keep things simple at first and customize later as your workflow evolves.
For engineers who care about efficiency (and don’t want their editor to become another side project), LazyVim delivers a polished, scalable Neovim experience that just works. Another thing I like is that after you clone the project, you remove the existing git repo and maintain and/or extend your setup over time.
Requirements
This is not a one shot install, for all features you need a few things on your system:
- neovim
- git
- a “nerd font” so there are additional icons in the neovim interface
- lazygit (optional but makes working in git repos nicer)
- tree-sitter-cli and a C compiler like gcc
- curl
- fzf (optional but makes searching files easier) which is needed by fzf-lua plugin for neovim
- ripgrep is needed as part of the fzf-lua dependencies. This is a more performant version of
grep - fd is also needed as part of the fzf-lua dependencies. This is a more performant version of
find
- ripgrep is needed as part of the fzf-lua dependencies. This is a more performant version of
- a terminal emulator that supports true color and undercurl. Some examples for macOS and Linux:
- kitty
- wezterm
- alacritty
- ghostty
In a recent post I demoed all of these programs and how they fit into a modern command-line workflow.
Install and setup LazyVim
The Lazyvim project has a “starter” config (it is a directory in the GitHub project ). Clone this to your system and when you run nvim again, it will install plugins to transform your neovim to more of an IDE that you can extend further with Lua (or just plugins other folks have created).
Assuming you have neovim installed, backup the current config:
# rename old files with a .bak extension so they are no longer used but still on your system.
mv ~/.config/nvim{,.bak}
clone the starter config
Use git to copy the starter config to your system:
git clone https://github.com/LazyVim/starter ~/.config/nvim
# remove the .git folder after cloning
rm -rf ~/.config/nvim/.git
Now start nvim and LazyVim will sync the latest versions of the plugins.
Configure LazyVim
LazyVim comes with a set of default config files that are loaded first. These can be viewed in ~/.config/nvim/lua/config. The first file that nvim expects is ~/.config/nvim/init.lua
There are comments in the config files on how to customize further.
Add new plugins (written in Lua) to the directory ~/.config/nvim/lua/plugins/
Colorscheme and icons
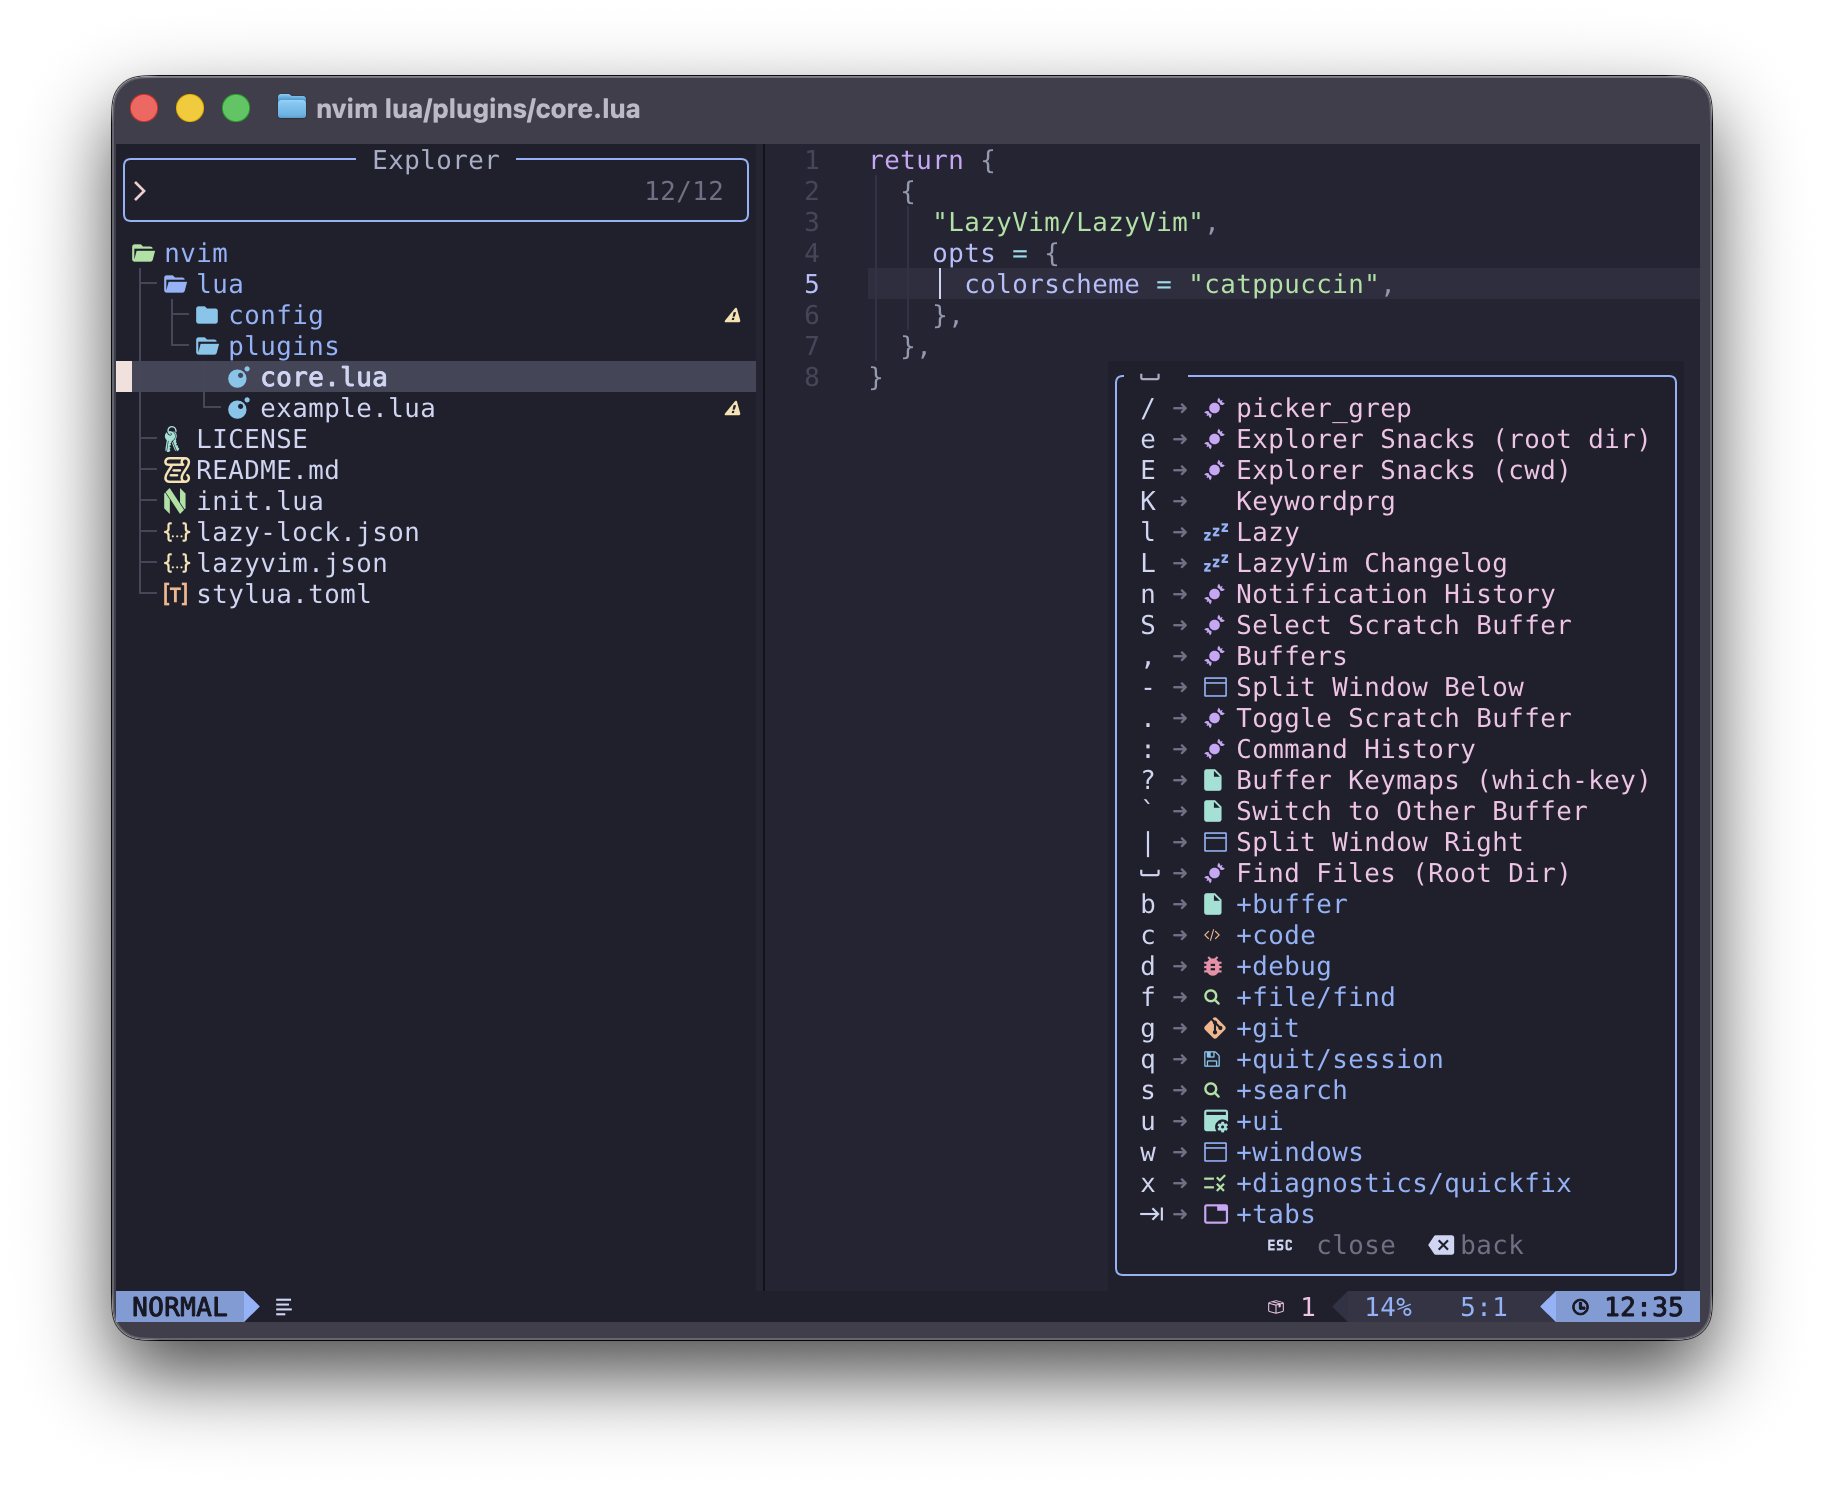
For example if you want to change your nvim colorscheme, create/edit a config file in Lua:
~/.config/nvim/lua/plugins/core.lua
return {
  {
    "LazyVim/LazyVim",
    opts = {
      colorscheme = "catppuccin",
    }
  }
}
Example config change to line numbers
By default, the line numbers displayed are relative. If you want normal and absolute line numbers, make a change to the config file for neovim ~/.config/nvim/lua/config/options.lua
local opt = vim.opt

opt.relativenumber = false
This will change the line numbers on the left of the buffer.
Pressing the “leader key”, which is which-key.nvim to help you remember keymaps. So for example to open the file explorer in a buffer to the left press:
Lazygit integration
If you have lazygit installed and you are working in a repo, pressing lazygit from the root of your git repo all within neovim.
fzf integration
Once you have fzf, fd, and ripgrep Lazyvim can make searching through your project easier. For example:
- Pressing
SPACE +SPACE will allow you to search through all files in your project and match incomplete(fuzzy) strings. - Pressing
SPACE +/ will allow you to recursively search for a fuzzy string in any file in your project.