Running LLMs on your hardware
Large language models are artificial intelligence systems that use complex algorithms to process and analyze vast amounts of text data, allowing them to learn patterns, relationships, and context within language. These models typically consist of multiple layers of interconnected neural networks that are trained on massive datasets of text, often exceeding tens or even hundreds of millions of examples. As the model processes and learns from this input, it develops an ability to generate coherent and natural-sounding text, respond to prompts and questions, and even engage in creative tasks like writing stories or composing music. It is important to note that it does not “think” but will return responses that have the most probability of being correct related to the prompt that you gave it.
To run an LLM on your computer, the most helpful prerequisite is a GPU and the more VRAM the better. A GPU in a desktop or server system will provide the best performance compared to a laptop. That being said there are still LLMs out there that will run fine on a laptop.
Ollama is an open-source framework designed to facilitate the deployment of large language models on local environments. It aims to simplify the complexities involved in running and managing these models. You can install Ollama on Linux, macOS, and Windows.
Installing Ollama on Linux
On Linux, you can run Ollama by downloading a single executable binary file. This executable can be run as a daemon on the system to handle requests to download and run LLMs. There is also an executable for macOS systems.
You can also run Ollama as a container but you will need to perform extra steps to allow a container run-time to leverage a GPU in your system and since Ollama is packaged as a single binary, it is easier for me to just run the binary as a system daemon and updates are very easy, you just replace the executable file with the latest version.
Download the ollama binary
Ollama is distributed as a self-contained binary. Download it to a directory in your $PATH:
sudo curl -L https://ollama.com/download/ollama-linux-amd64 -o /usr/bin/ollama
sudo chmod +x /usr/bin/ollama
Adding Ollama as a startup service (recommended)
Create a user for Ollama:
sudo useradd -r -s /bin/false -m -d /usr/share/ollama ollamaCreate a service file in /etc/systemd/system/ollama.service:
[Unit]
Description=Ollama Service
After=network-online.target

[Service]
ExecStart=/usr/bin/ollama serve
User=ollama
Group=ollama
Restart=always
RestartSec=3

[Install]
WantedBy=default.target
Then start the service:
sudo systemctl daemon-reload
sudo systemctl enable ollama
The alternative is to download the executable and execute it directly but you will need to keep the terminal session open: ollama serve
You could start a screen or tmux session to keep that open but using system daemon will start the service on boot and make logs for ollama available on the system journal.
Ansible playbook
Here is an Ansible playbook that does all of these tasks:
---
- hosts: all
  become: true
  tasks:
    - name: Download Ollama binary
      get_url:
        url: https://ollama.com/download/ollama-linux-amd64
        dest: /usr/bin/ollama
        mode: '0755'

    - name: Create user for Ollama
      user:
        name: ollama
        system: yes
        shell: /bin/false
        createhome: yes
        home: /usr/share/ollama

    - name: Create service file
      copy:
        dest: "/etc/systemd/system/ollama.service"
        content: |
          [Unit]
          Description=Ollama Service
          After=network-online.target

          [Service]
          ExecStart=/usr/bin/ollama serve
          User=ollama
          Group=ollama
          Restart=always
          RestartSec=3

          [Install]
          WantedBy=default.target
      notify: restart ollama service

  handlers:
    - name: restart ollama service
      systemd:
        state: restarted
        daemon_reload: yes
        enabled: yes
        name: ollama.service
When using Ansible, we can simply run this playbook to upgrade Ollama and it will only alter the system users and daemons if the ollama user/service does not already exist. If you are not familiar with Ansible, check out a previous post to get started.
Running a model
NOTE: If you have a GPU and Ollama does not use it, check out their official site for troubleshooting tips. I use Nvidia and once the drivers installed, Ollama recognizes the GPU.
Ollama supports a list of models available on https://ollama.com/library
Once Ollama is running, you can download models with the command: ollama pull $model-name
Models that are downloaded will be in this directory on Linux: /usr/share/ollama/.ollama/models
Here is an example to run an open source model llama3:
ollama pull llama3

ollama run llama3
This will open a terminal prompt where you can interact with the LLM and it will output in raw markdown format.
This is cool but there is another open source tool that you can run locally that provides a Web UI for interacting with any model that you download for ollama.
Open-webui
This is a User-friendly WebUI for LLMs (Formerly the project was Ollama WebUI).
It supports various LLM runners, including Ollama and OpenAI-compatible APIs.
Manual install open-webui
This can be installed locally or run as a container. To install locally on Linux, you can use Python package manager pip. This requires Python 3.11 and could be done in a virtual environment.
# Create a python 3.11 virtual environment
virtualenv -p /path/to/python3.11 venv_openwebui
# Activate the virtual environment
source venv_openwebui/bin/activate
# Install openwebui via pip in the virtual environment
pip install open-webui
Once pip install the dependencies, you can start the server with the command:
open-webui serveThis will start the server on port 8080. You can access by visiting the URL http://localhost:8080
Some notes:
- Admin Creation: The first account created on Open WebUI gains Administrator privileges, controlling user management and system settings. You can enter any email and password, it does not need to exist.
- User Registrations: Subsequent sign-ups start with Pending status, requiring Administrator approval for access in the console.
- Privacy and Data Security: All your data, including login details, is locally stored on your device.
Install open-webui with Docker
If you are using Docker, you can run open-webui on the same system as Ollama or on another system if they are on the same network and you serve Ollama on all network interfaces without a firewall for the Ollama port 11434. If you are not familiar with Docker, check out a previous post to get started.
docker run -d -p 8080:8080 \
	--add-host=host.docker.internal:host-gateway \
	-v open-webui:/app/backend/data \
	--name open-webui \
	--restart always \
	ghcr.io/open-webui/open-webui:main
This example uses Docker named volumes to guarantee the persistance of your data. The volume is typically found in the directory /var/lib/docker/volumes.
This will start the server on container port 8080 and forward to the host system port 8080. You can access by visiting the URL http://localhost:8080
Note that the host.docker.internal:host-gateway helps the container find the Ollama server running on your local system.
Install open-webui with Podman
If you are on Linux and have Podman, and alternative container run-time to Docker, this is how I create a Pod that can connect to Ollama running on the host system. If you are not familiar with Podman, check out a previous post that explores alternatives to Docker for running containers.
podman create -p 8000:8080 \
	--network=pasta:-T,11434 \
	--add-host=ollama.local:127.0.0.1 \
	--env 'OLLAMA_BASE_URL=http://ollama.local:11434' \
	--env 'ANONYMIZED_TELEMETRY=False' \
	-v open-webui:/app/backend/data \
	--name open-webui \
	ghcr.io/open-webui/open-webui:main
The pasta network is available on Podman versions greater than 5 and helps connect the pod to ports on the host system. We are also adding a host record to the pod telling it that the URL http://ollama.local maps to localhost and the pasta network uses the loopback interface on the host system.
Next steps
Once you have Ollama, a model downloaded, and Open-webui, you are free to start interacting with LLMs to answer questions, write code examples, and certain LLMs can generate images and videos.
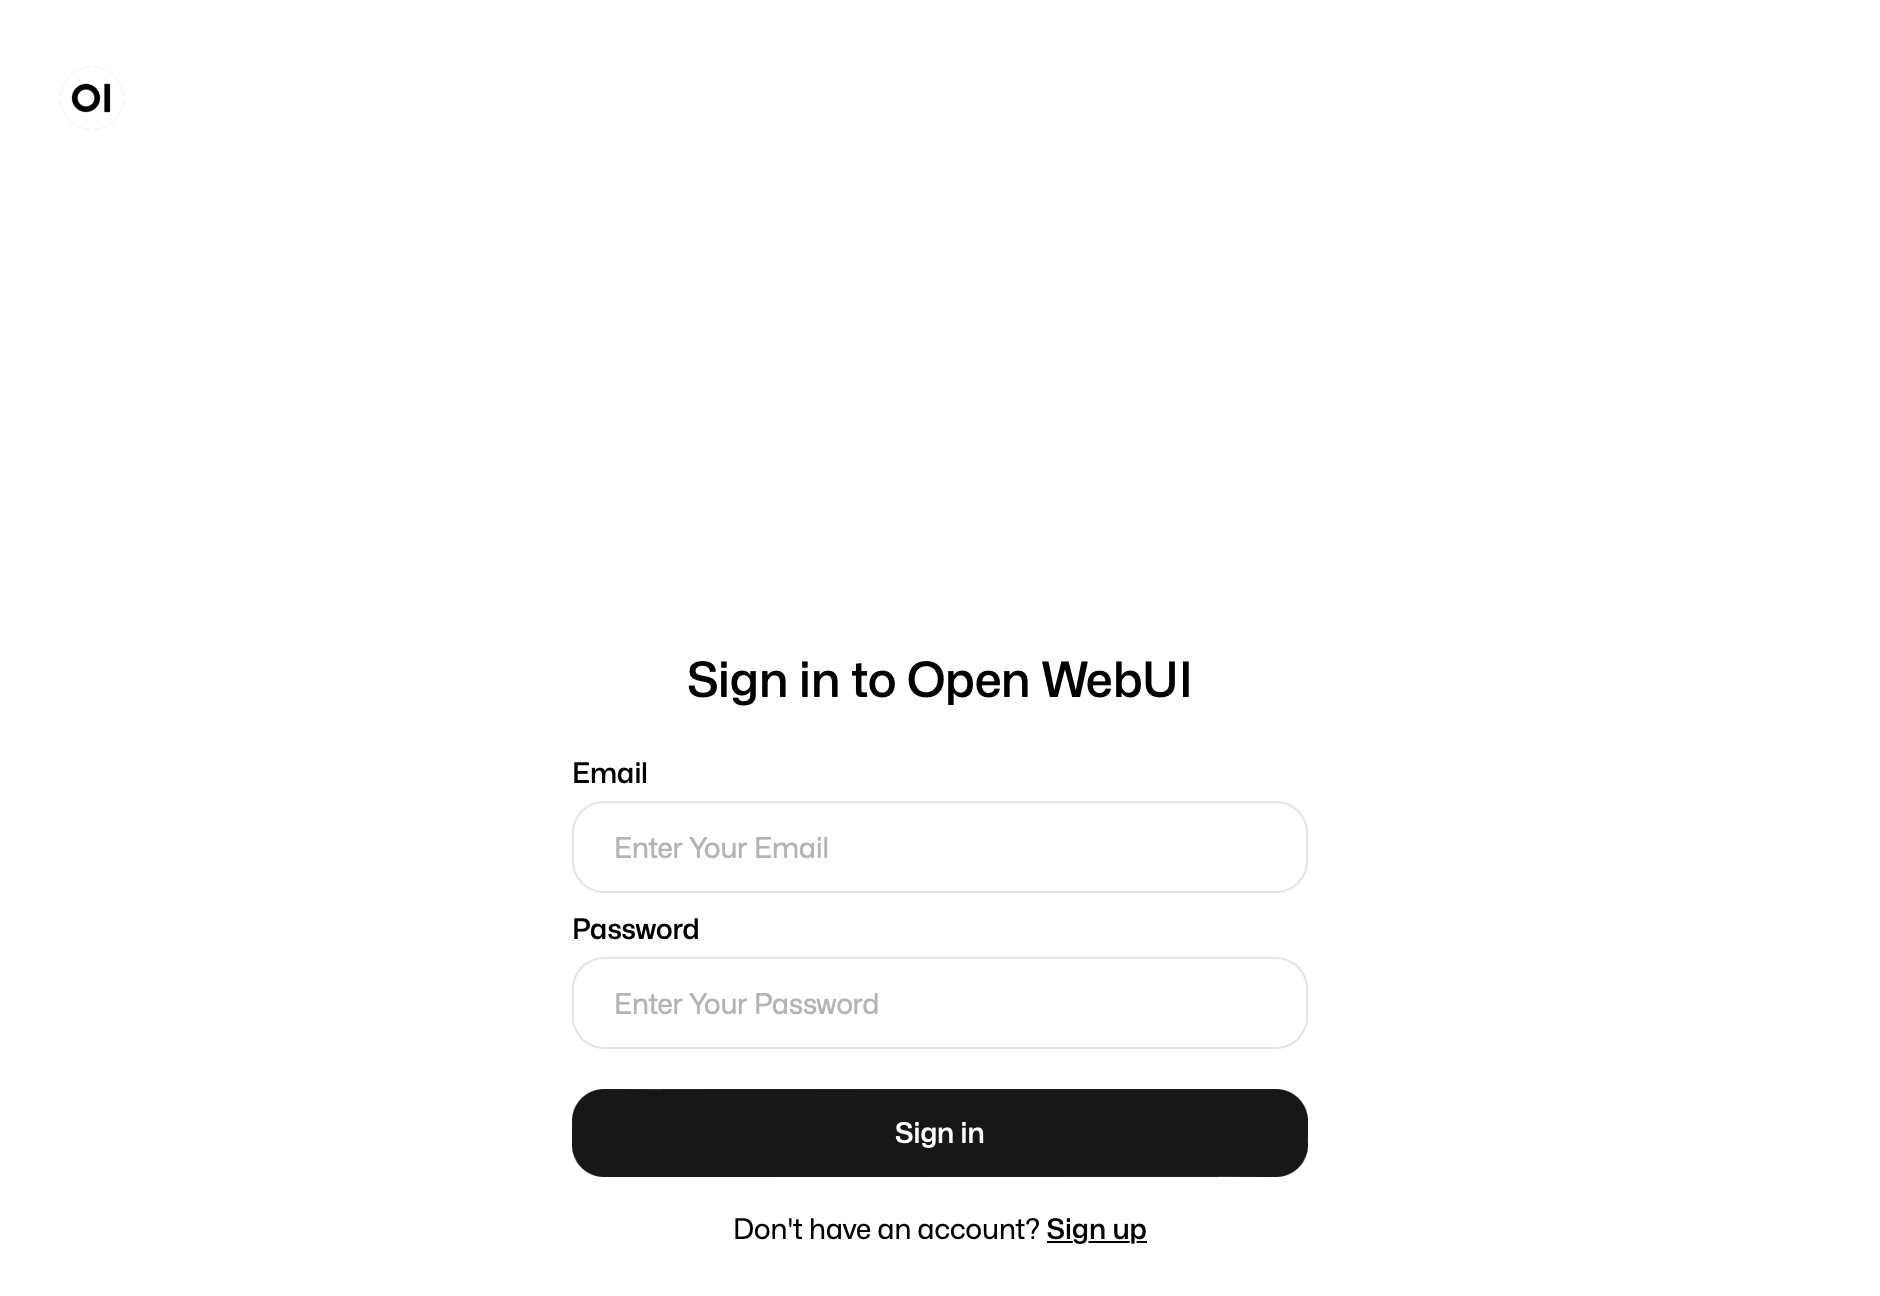
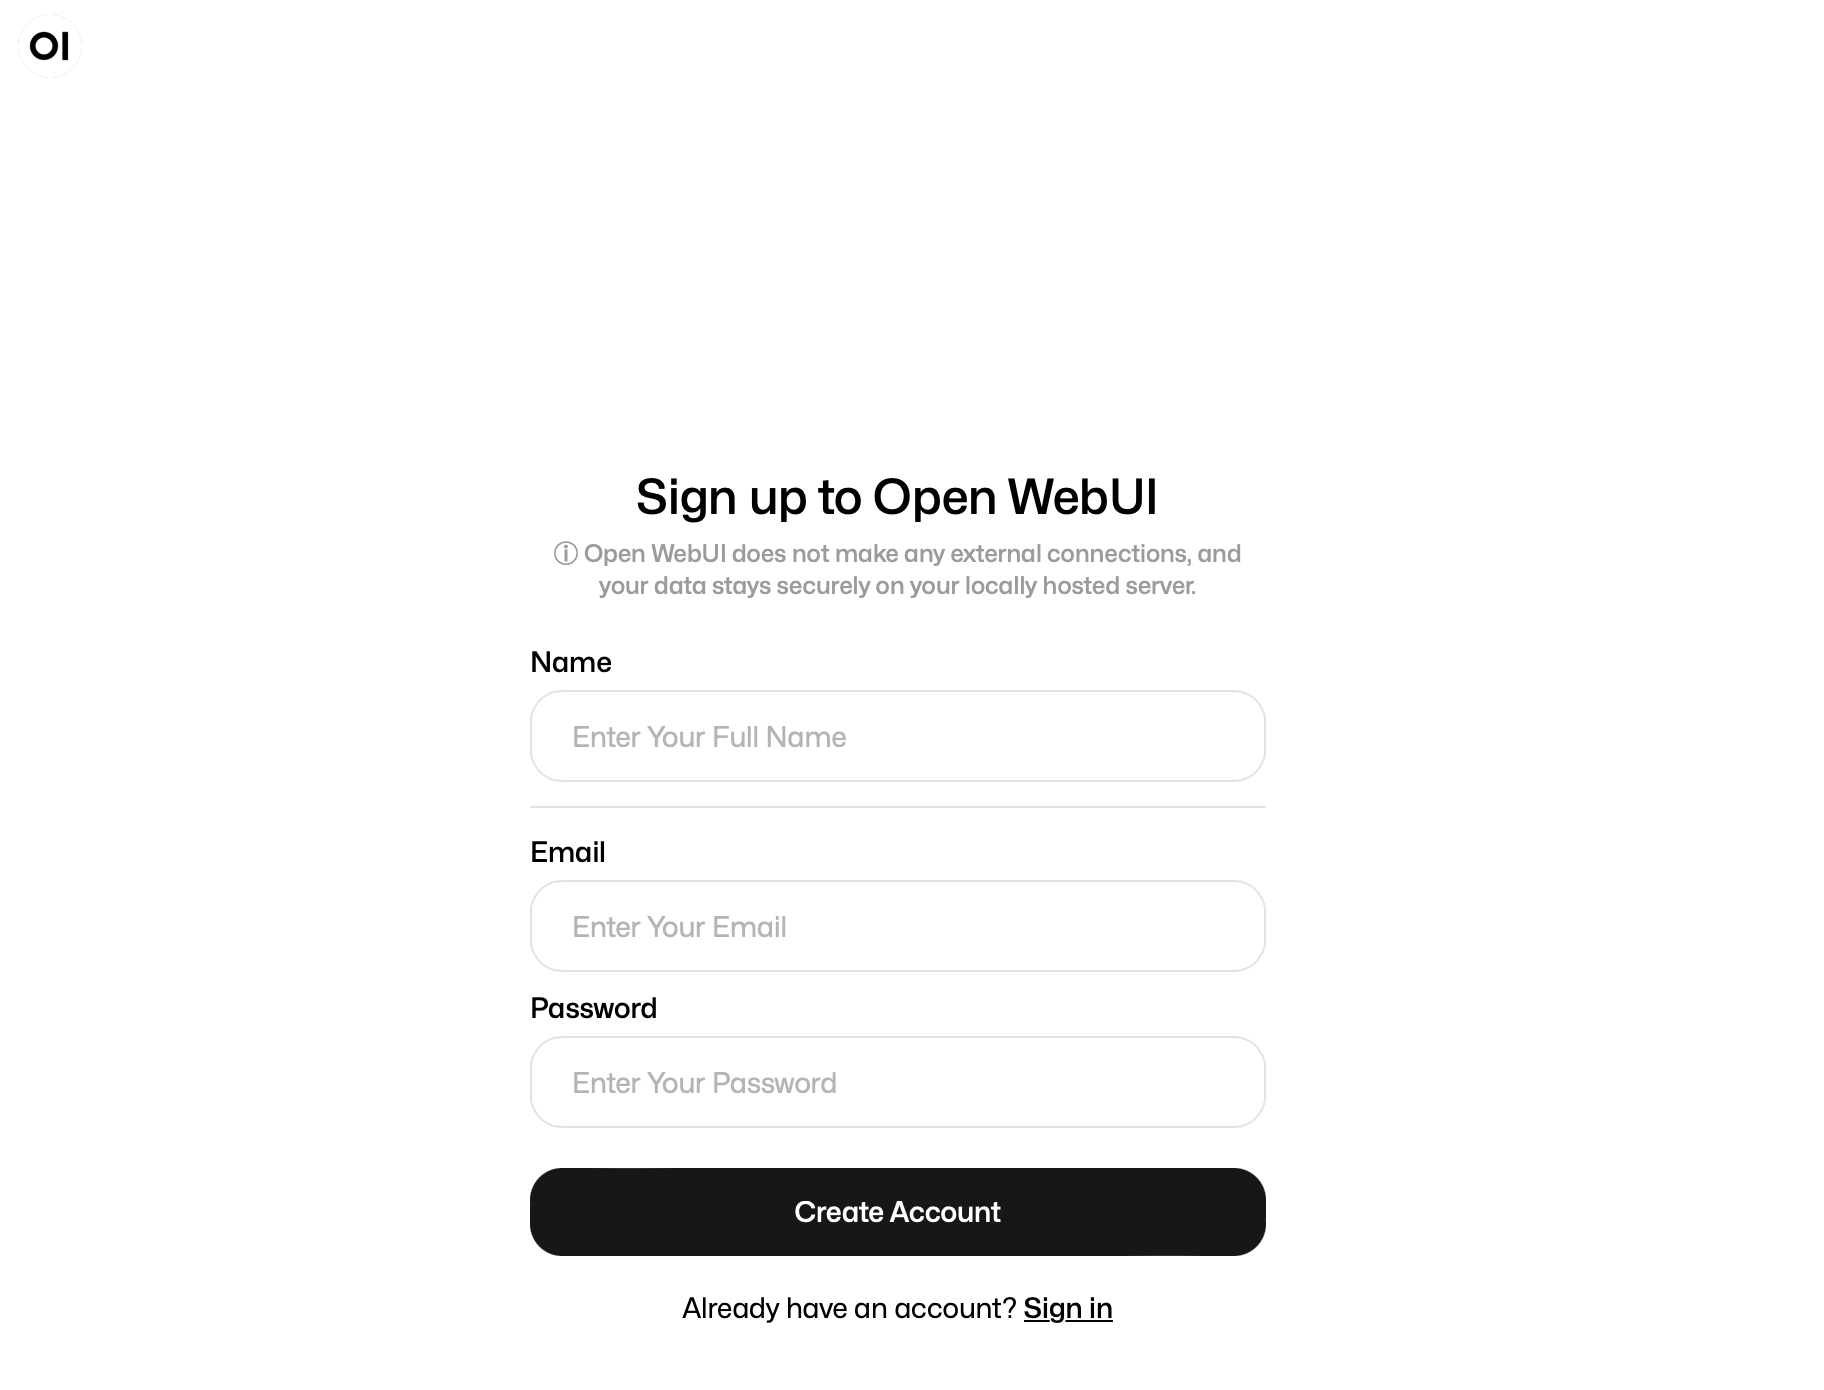
When you go to open-webui for the first time, you can create a new user you will have administrator privileges to configure the app and approve other user’s when they attempt to register.
This is what the Login window will look like:

This is the registration menu:

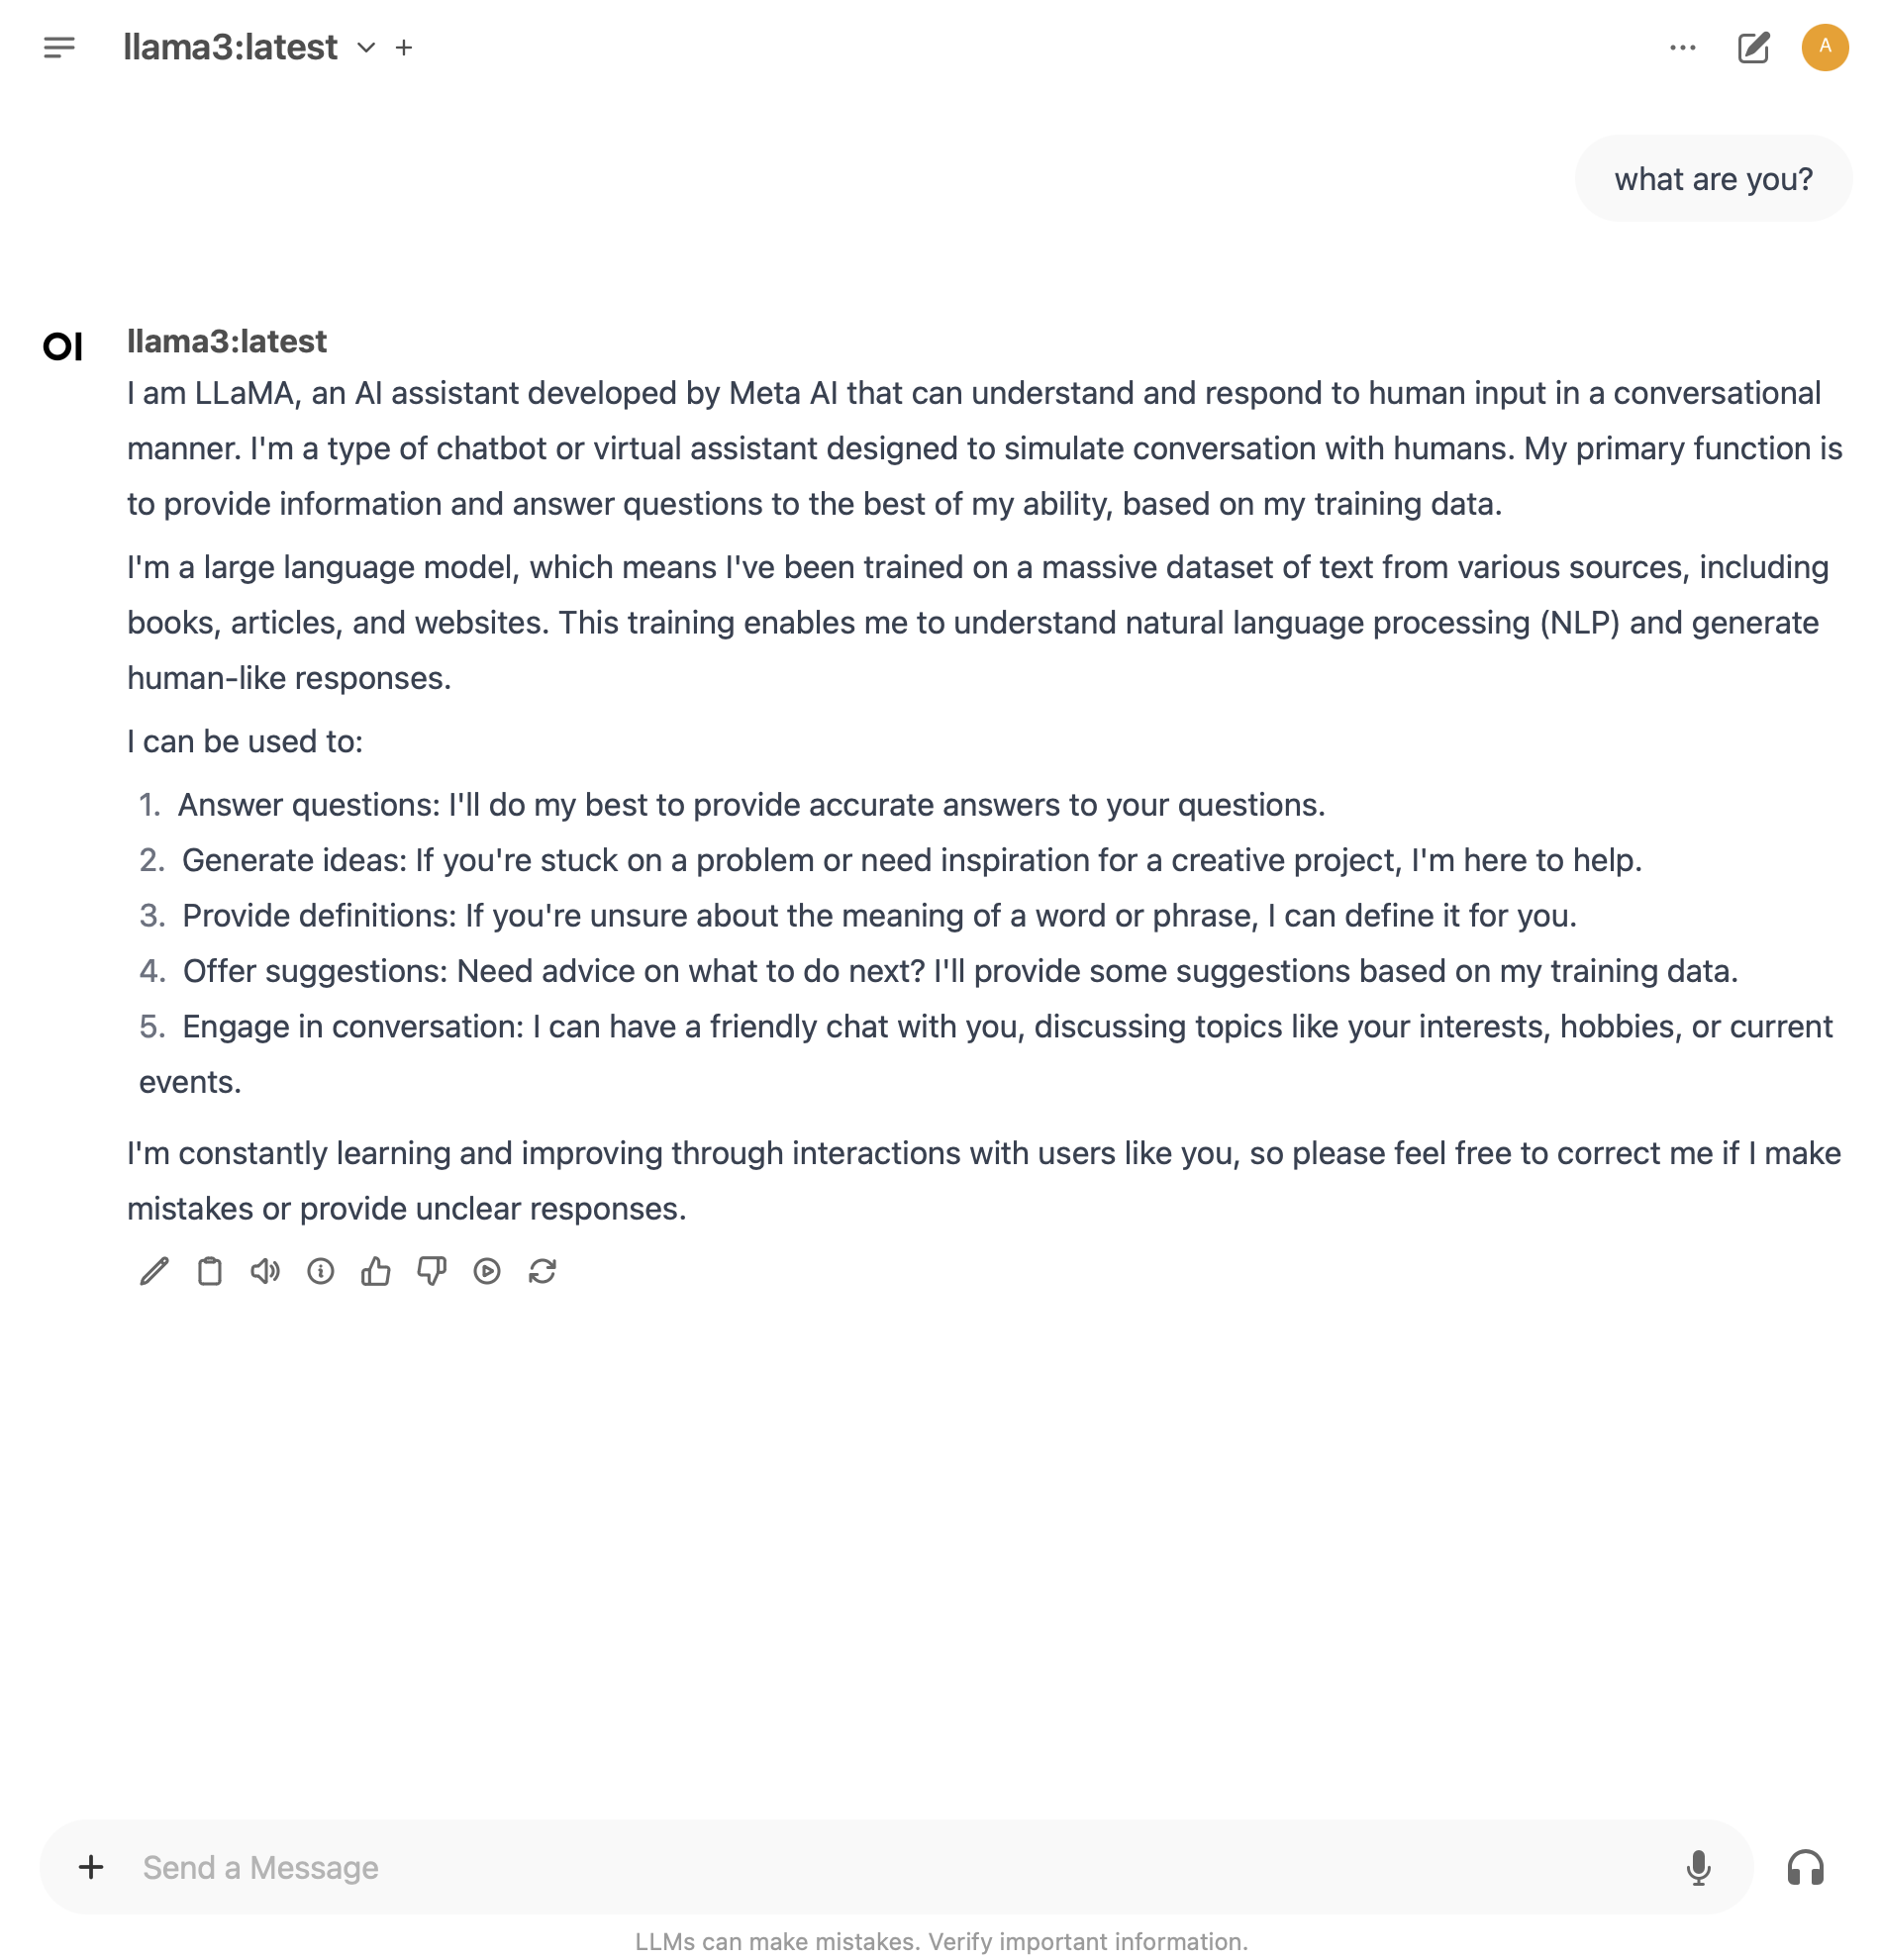
This is an example of starting a new chat with the llama3 model referenced earlier in this post:
