Managing containers with Portainer
updated: 2024-02-01
Portainer CE is a web application that you can use to manage containers running on systems that have docker installed. Today we will be deploying Portainer community edition to manage some containers. Portainer runs as a container and you configure it to manage an existing docker installation. Portainer is also compatible with some additional container platforms which I may explore at a later date.

Requirements
As of this post, Portainer can be deployed on the following:
- Architectures:
- arm64
- x86_64 (amd64)
- Container run-time such as docker or containerd.
If you don’t have docker and docker-compose
I have published a previous post on installing docker.
Deploying Portainer Community Edition
Docker Compose
With docker compose you can define templates for running docker containers and multi-container applications. Compose has a command line utility to manage the following:
- Start, stop, and rebuild containers
- View the status of running containers
- View live logs of running containers
- Run commands on running containers
In order to save our docker configuration, we will create a docker compose file to save the deployment options. Compose expects to see this as a yaml file docker-compose.yml:
version: '3'
 services:
   portainer:
     image: portainer/portainer-ce:latest
     command: -H unix:///var/run/docker.sock
     ports:
       - "9000:9000"
     restart: always
     volumes:
       - /etc/localtime:/etc/localtime:ro
       - /var/run/docker.sock:/var/run/docker.sock:ro
       - portainer_data:/data
 volumes:
   portainer_data: {}
Bring this container up with the command:
docker compose up -dBased on this configuration, we are exposing the Web interface on port 9000.
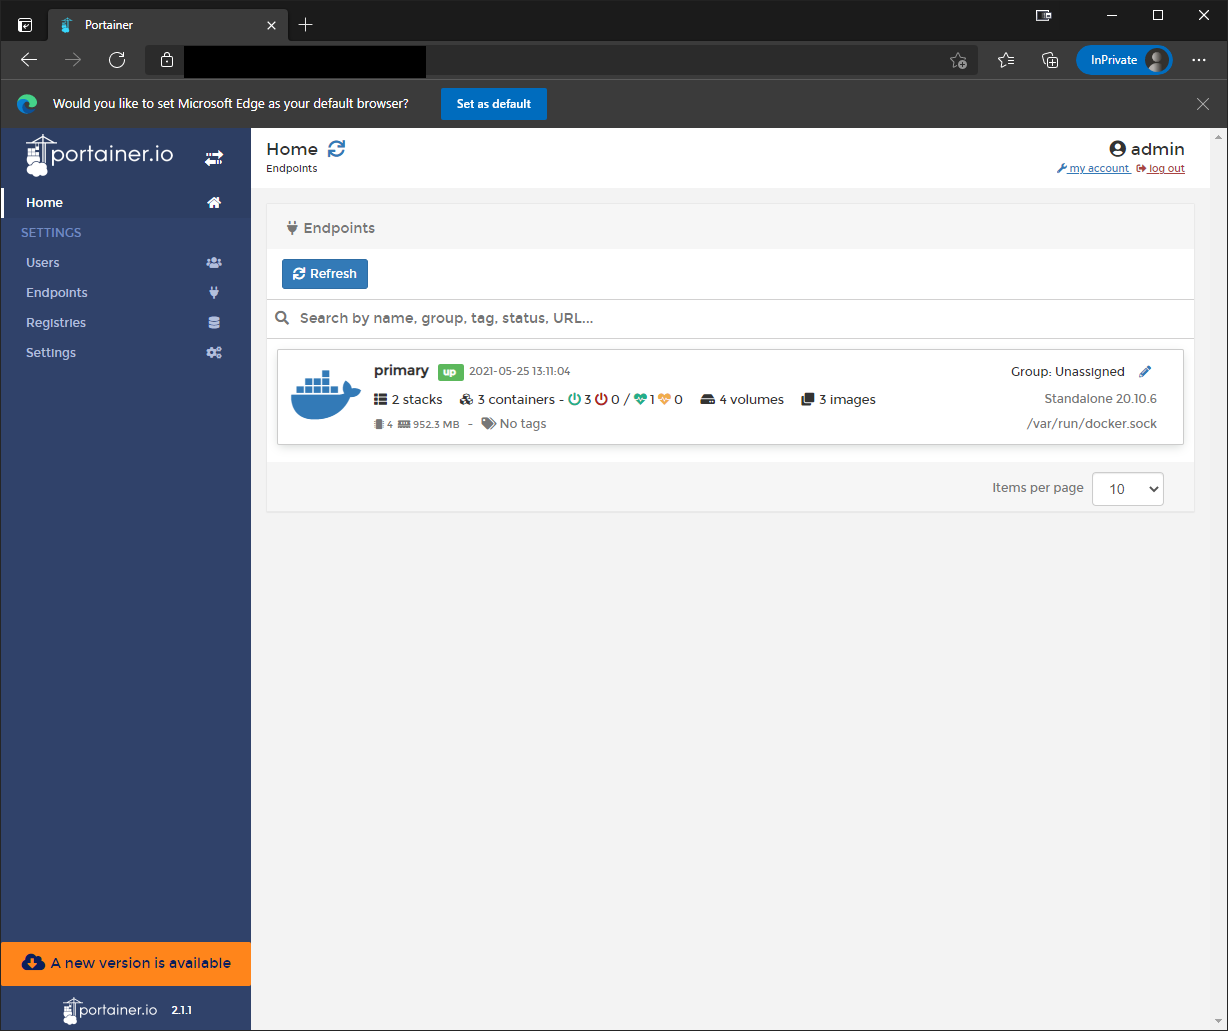
Once the portainer container is running, you can access the application in your browser:
Or if you are running docker in a headless environment:
http://docker-host-ip-or-hostname:9000
iptables
If your docker host has iptables enabled to manage a firewall on the system, the docker daemon will open port 9000 on the system to accept incoming connections.
UFW
If your docker host is using UFW (Ubuntu or Debian based distros most likely) the command is:
ufw allow 9000 comment "Portainer"Next steps
Now you can manage containers, images, networks, and volumes from the web. When you first visit the URL of your Portainer installation, you must create a password for the local “admin” account.
