Building websites with containers, hugo and AWS Amplify
Note (2026-04-18): This blog has been migrated to Astro but still uses the same Amplify setup described here. See Deploying an Astro site to AWS Amplify for the current configuration.
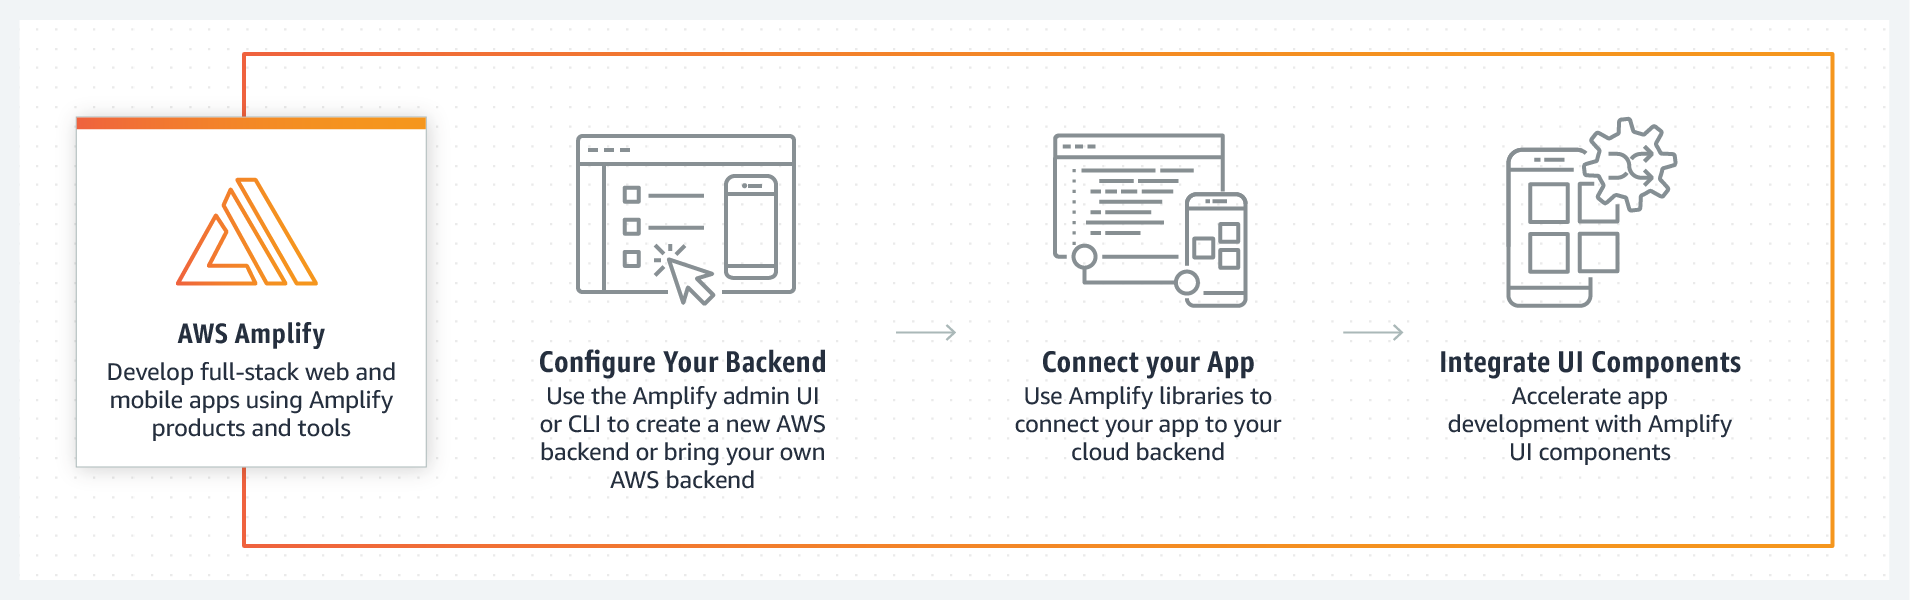
AWS Amplify is a set of tools and services that can be used together or on their own, to help front-end web and mobile developers build scalable full stack applications, powered by AWS (Amazon Web Services). With Amplify, you can configure app backends and connect your app in minutes, deploy static web apps in a few clicks, and easily manage app content outside of AWS.
Use the Amplify console to host static websites and single page web apps with a Git-based workflow, simply by connecting your app’s git repository. With this service, you do not have to configure infrastructure to host your site, and can just commit changes to a git repository.
How it works
Building my blog
I build my blog with Hugo and use markdown files to render new pages and posts. AWS Amplify includes Hugo as one of the tools available for serverless builds. My blog requires the hugo extended version and my image files are stored with git-lfs.
This proved to be a challenge setting up a build environment in AWS. I ended up extending an existing Docker image for building hugo sites and installing the software required for AWS Amplify to build my site. If you are not familiar with Docker and containers, check out a previous post to get started.
The container image used for building the blog needed the following:
- ssh client
- git
- git-lfs
- hugo-extended
- ssh host key from
gitlab.com
AWS also requires that curl is installed. That created quite a headache for me as the builds were failing with no output.
The base image used for this build will be one that includes the hugo software so all that is needed is an ssh client and git-lfs.
# This is a variable to easily change which version of the base image is used
ARG HUGOVERSION=0.83.1
# This is a declaration of the base image
# the container build will download this image and
# run it to perform our modifications
FROM klakegg/hugo:${HUGOVERSION}-ext-ubuntu-ci
# The version of git-lfs included in ubuntu repos doesn't seem to work with amplify
# Here we are installing curl and piping a script to the container shell to install
# the github repo for git-lfs package
RUN apt-get update && apt-get install curl -y
RUN curl -s https://packagecloud.io/install/repositories/github/git-lfs/script.deb.sh | bash
# Once the repo is added we install the git-lfs package and ssh client
RUN apt-get update && apt-get install git-lfs ssh -y
# Clean the apt cache
RUN apt-get clean && rm -rf /var/lib/apt/lists/*
# Since we will pull from GitLab the container needs to trust the GitLab host key
RUN mkdir /root/.ssh/ && ssh-keyscan gitlab.com >> /root/.ssh/known_hosts
Publish the image
Now that there is a template, we must make the container image accessible to the public so that AWS can pull the image when building the site.
The image can be hosted on the Docker Hub or any other public registry. I will be using a GitLab registry associated with the repository that has the Dockerfile and contains images generated with GitLab CI any time changes are made to the repository. For more information on how to set up a GitLab repo with GitLab CI to build a container image, check out a previous post.
Deploy with AWS Amplify
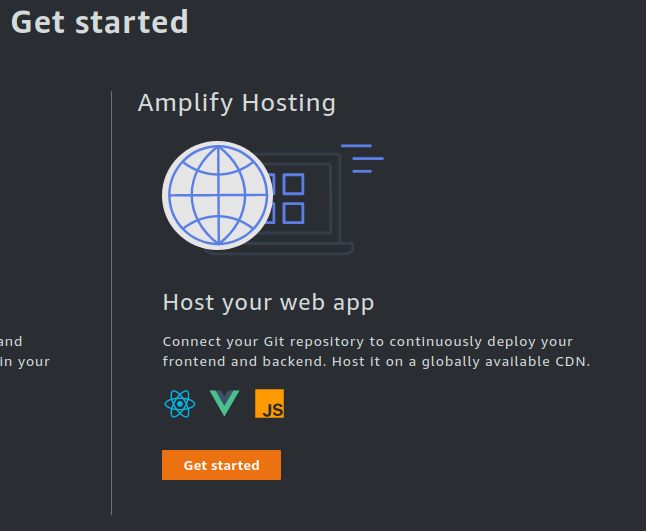
Log into the AWS console and open the Amplify console. For more information on how to get started with AWS console, check out a previous post.
On the main page, select Get Started under Amplify Hosting
Next, you want to connect the git repository that contains the code for the site. In this example, that will be GitLab.
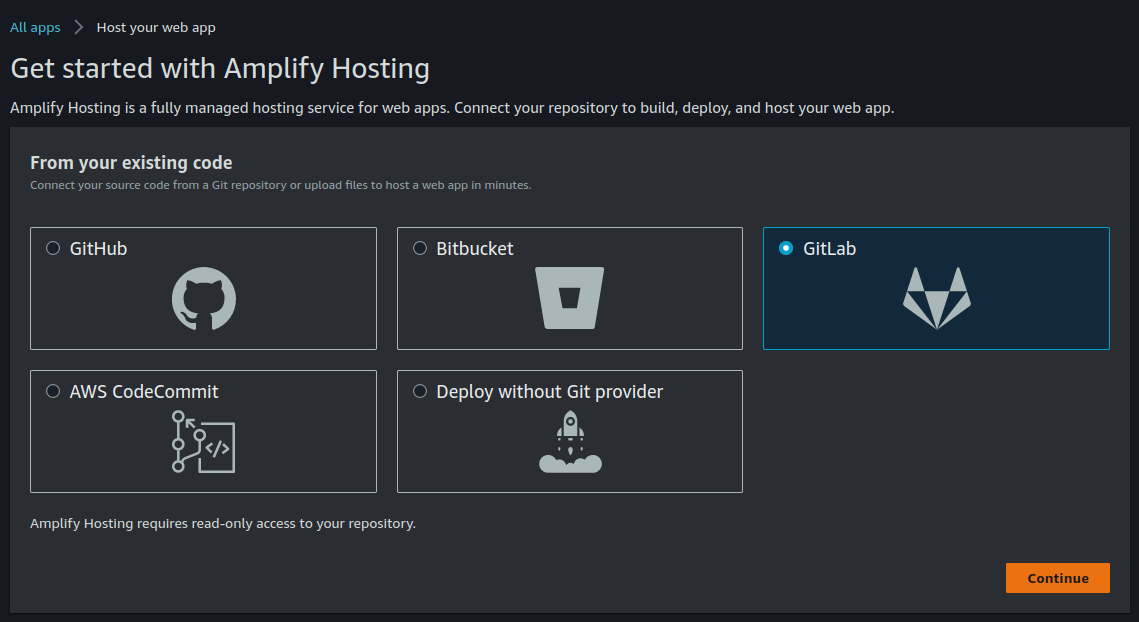
Select GitLab and then Continue
Connect your GitLab account if using GitLab and then select the repository that contains the site and also choose a branch for AWS to build from. I suggest using a protected branch like “main” or “master” and merge changes into the branch that AWS will monitor. For more information, check the AWS documentation.
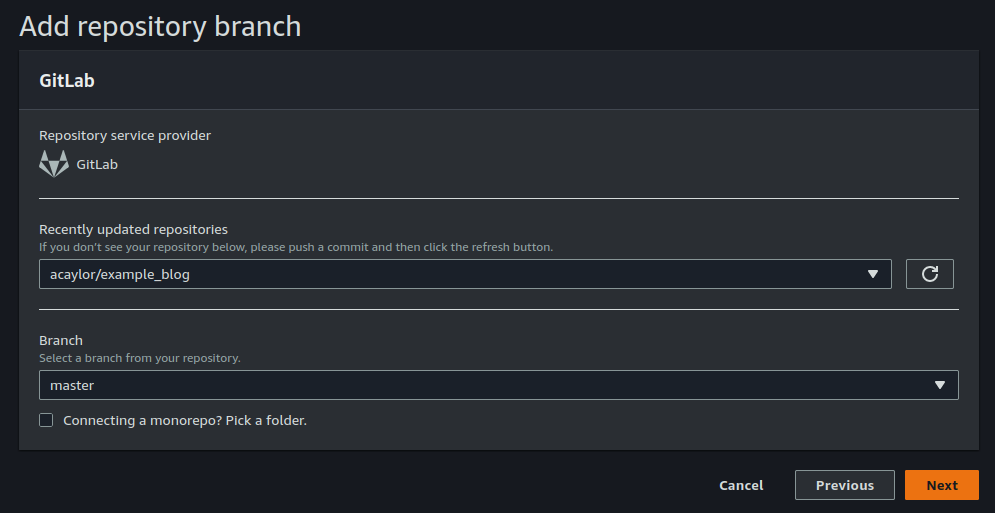
Select Next
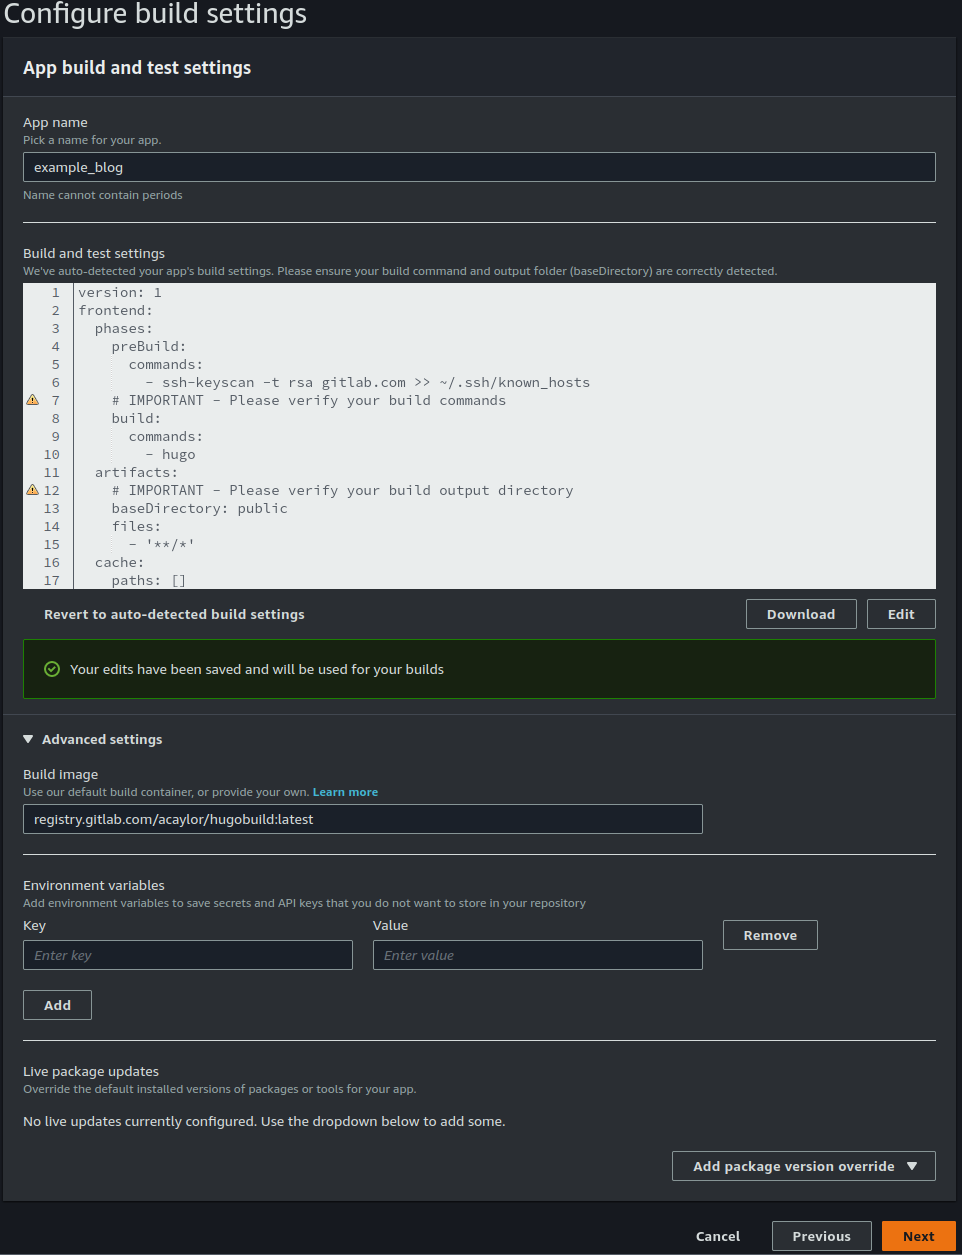
Build Settings
AWS will attempt to generate a YAML file that has the build configuration. This needs to be modified slightly to use the custom image:
version: 1
frontend:
  phases:
    preBuild:
      commands:
        - ssh-keyscan -t rsa gitlab.com >> ~/.ssh/known_hosts
    # IMPORTANT - Please verify your build commands
    build:
      commands:
        - hugo
  artifacts:
    # IMPORTANT - Please verify your build output directory
    baseDirectory: public
    files:
      - '**/*'
  cache:
    paths: []
Expand the Advanced Settings and enter the image tag of the custom image we published on GitLab into the Build Image field.
Select Next and review the configuration. Upon review, select Save and deploy and Amplify will generate the site. The console will show whether the site was built and deployed successfully.
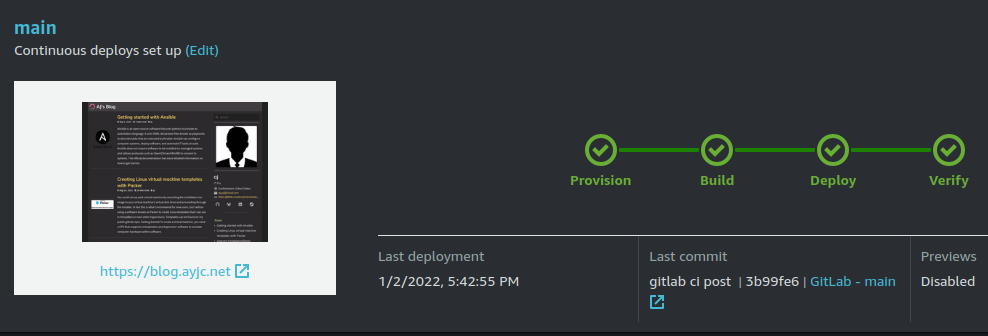
This screen should show you the URL to access your site as a hyperlink on the preview of your site.
Next steps
When you deploy an app, AWS will generate a URL to reach the new app over the web, once you verify that your site works, you can configure a custom domain so that your site is easier to find on search engines or just looks more official. The other nice feature of Amplify is that your site will be encrypted with SSL/TLS and you do not have to configure the certificates.
Check out the AWS documentation to set this up.