Setting up Windows 10
date:
tags: chocolatey powershell powertoys rufus visual studio code windows windows 10 windows terminal
categories: Windows 10
As of this post, I am running a Windows 10 custom built desktop.
There are certain tools that I install on every system I use and I have written some scripts to automate the setup process for brand new systems.
Any code on this page can also be found on my public GitHub repositories.
Installing Windows 10
Head here to Download Windows 10 (microsoft.com). Launch the media creation tool, accept the EULA, and then select “Create installation media”. Enter details for your locale settings. Next you can choose ISO file and save it to your system. Avoid paradoxical thoughts of any chickens or eggs. We can also use this .iso image later on and to create USB installation media for other computers.
Creating installation media
In order to create installation media, you need a USB storage device. If you are already doing this from another Windows system, I recommend the software Rufus to create a bootable USB drive from your Windows 10 disk image.
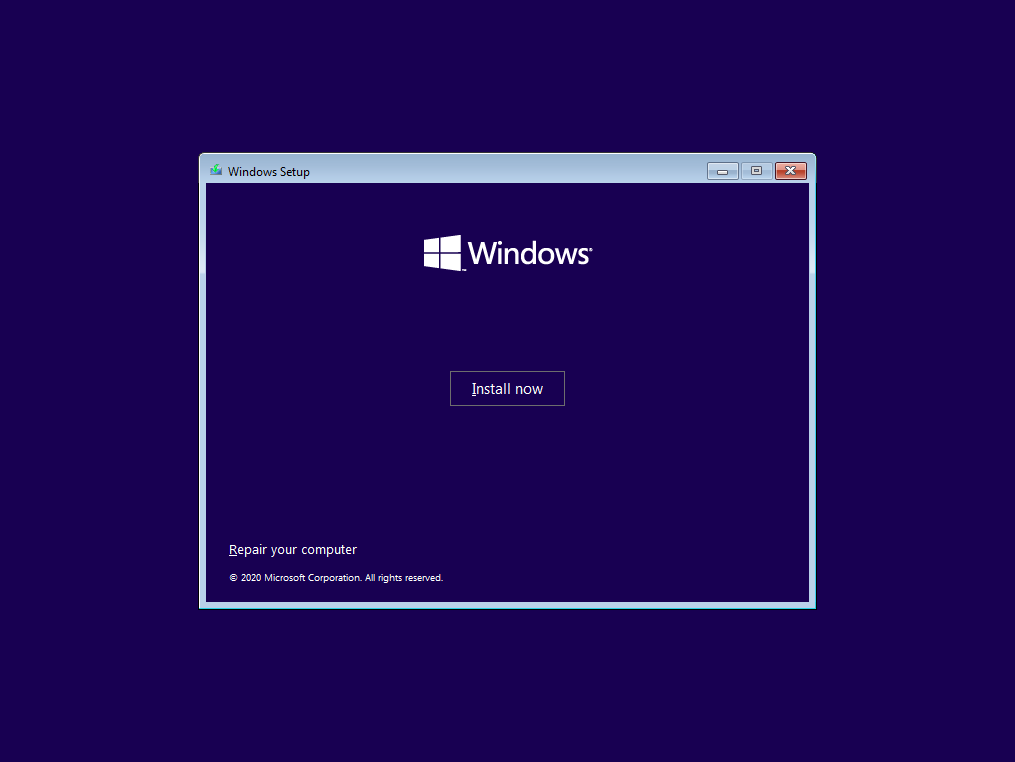
If you are starting with a brand new system with nothing on the disk drives simply plug in the USB storage device provisioned with Rufus and power the system on. With any luck the installation wizard will start automatically. Otherwise, consult your motherboard/manufacturer’s documentation for how to boot from a removable storage device.
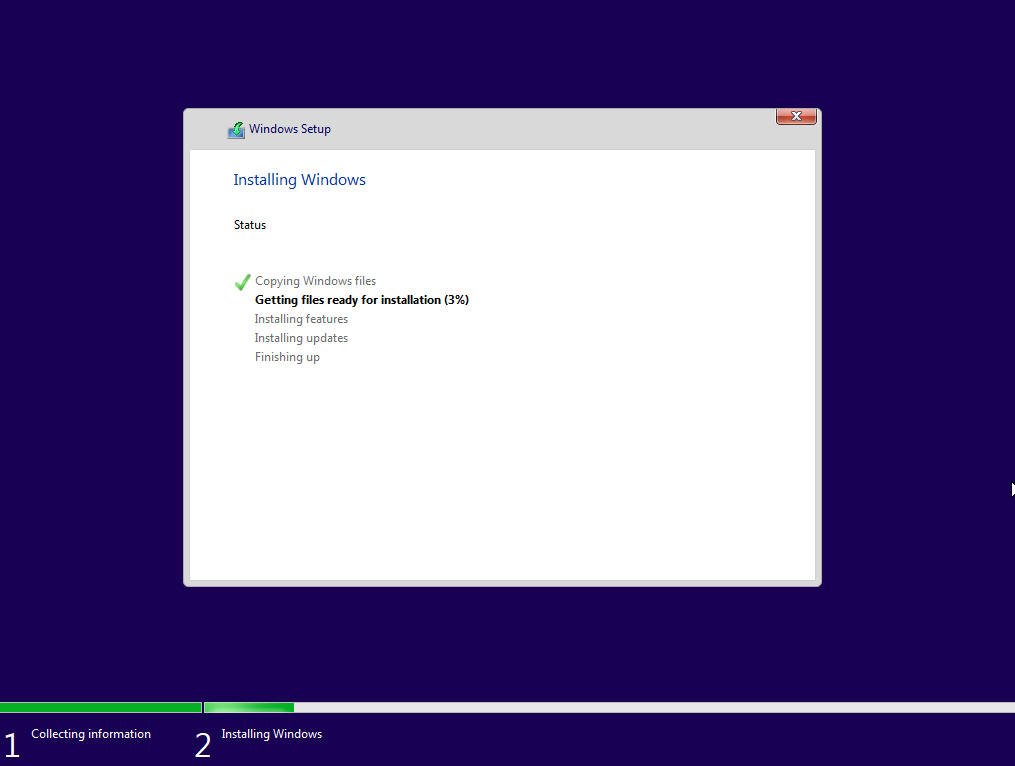
The system will restart and continue the installation. Once you see the screen below, the installation has succeeded.
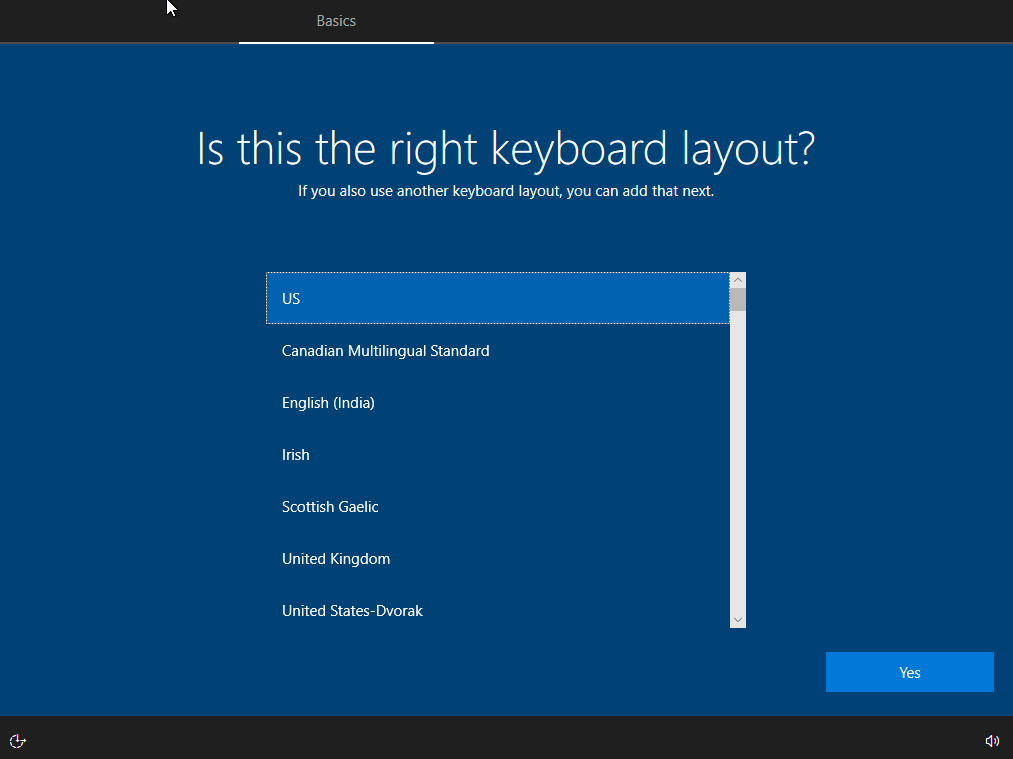
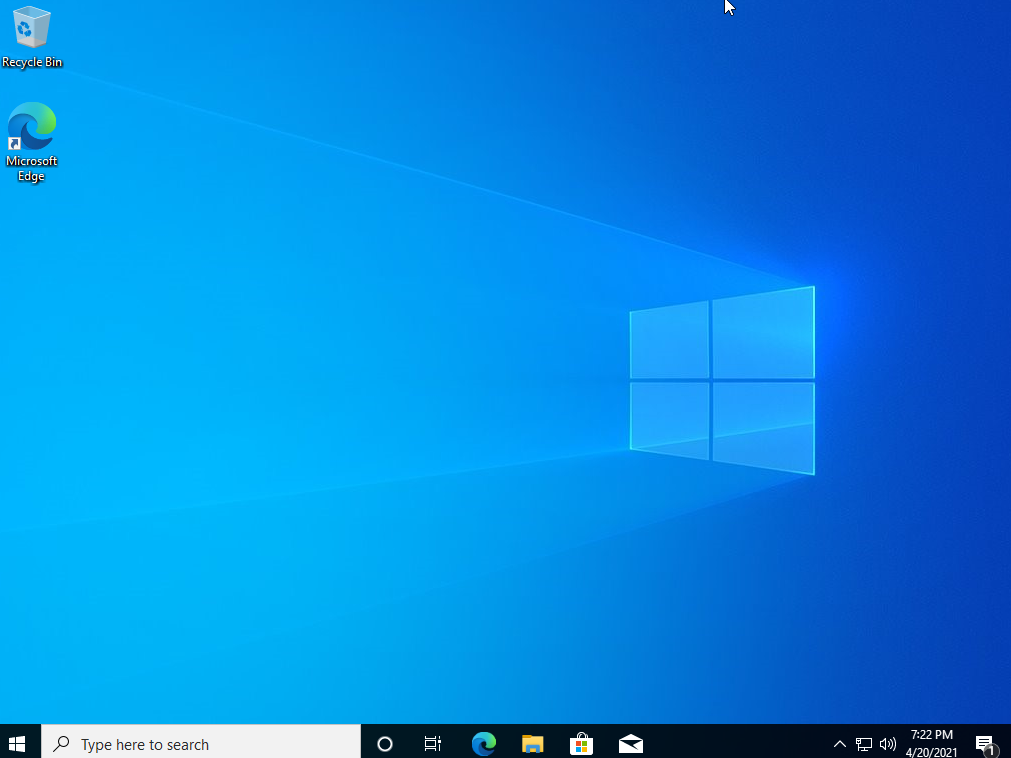
Proceed through the user setup wizard and then the installation will finish up. Once you see the following desktop, the installation is truly complete.
Configuring Windows 10
The following walk through will assume that you have a working installation of Windows 10. I have installed and licensed Windows 10 Pro. I handle installing my third-party software using an open source package manager for Windows known as Chocolatey.
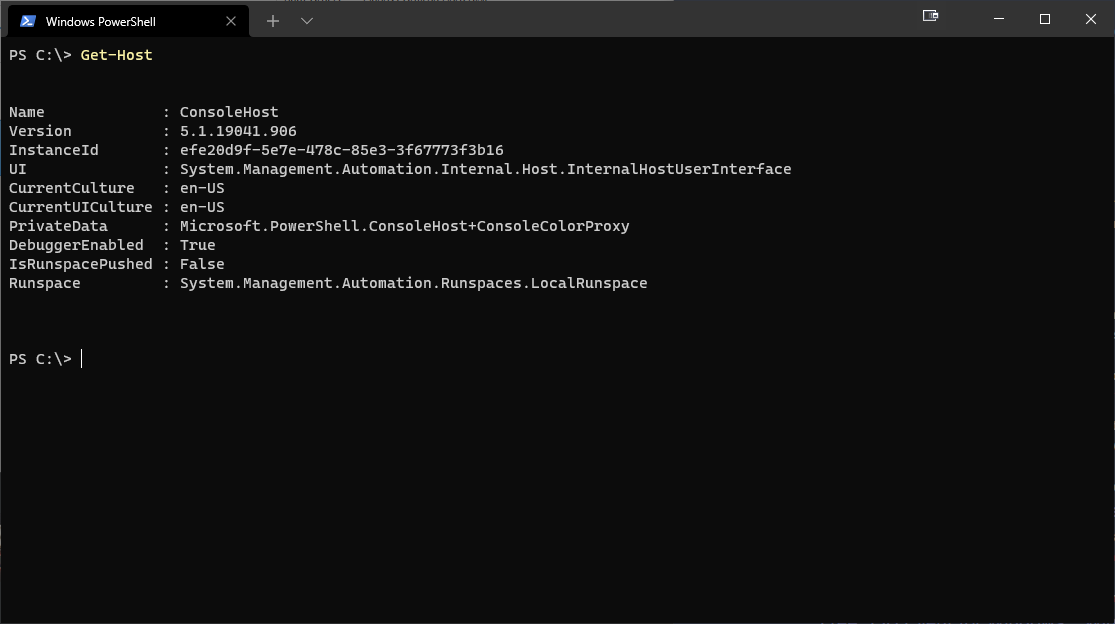
PowerShell
In order to proceed, we will be using PowerShell to customize our computer. From wikipedia: PowerShell is a task automation and configuration management framework from Microsoft, consisting of a command-line shell and the associated scripting language. On Windows 10 this is already installed and can be accessed by pressing the [Windows] key + [X] => “Windows PowerShell”.
Install Chocolatey
To get started, you need to install Chocolatey on your Windows system. I have a script in my setup_win repository that runs the following command to download the latest installation script from the maintainers of Chocolatey:
That script needs to be run in an administrative shell:
[ Win Key ] + [ x ] + [ a ]
Set-ExecutionPolicy Bypass -Scope Process -Force;
[System.Net.ServicePointManager]::SecurityProtocol = [System.Net.ServicePointManager]::SecurityProtocol -bor 3072;
iex ((New-Object System.Net.WebClient).DownloadString('https://chocolatey.org/install.ps1'))
⚠️ This will temporarily bypass the default PowerShell execution policy and run the installation script from Chocolatey’s website. Alternatively you can review the official documentation. ⚠️
Install third party software
From here you can copy my list of software, find your own packages with the CLI:
choco search <query>
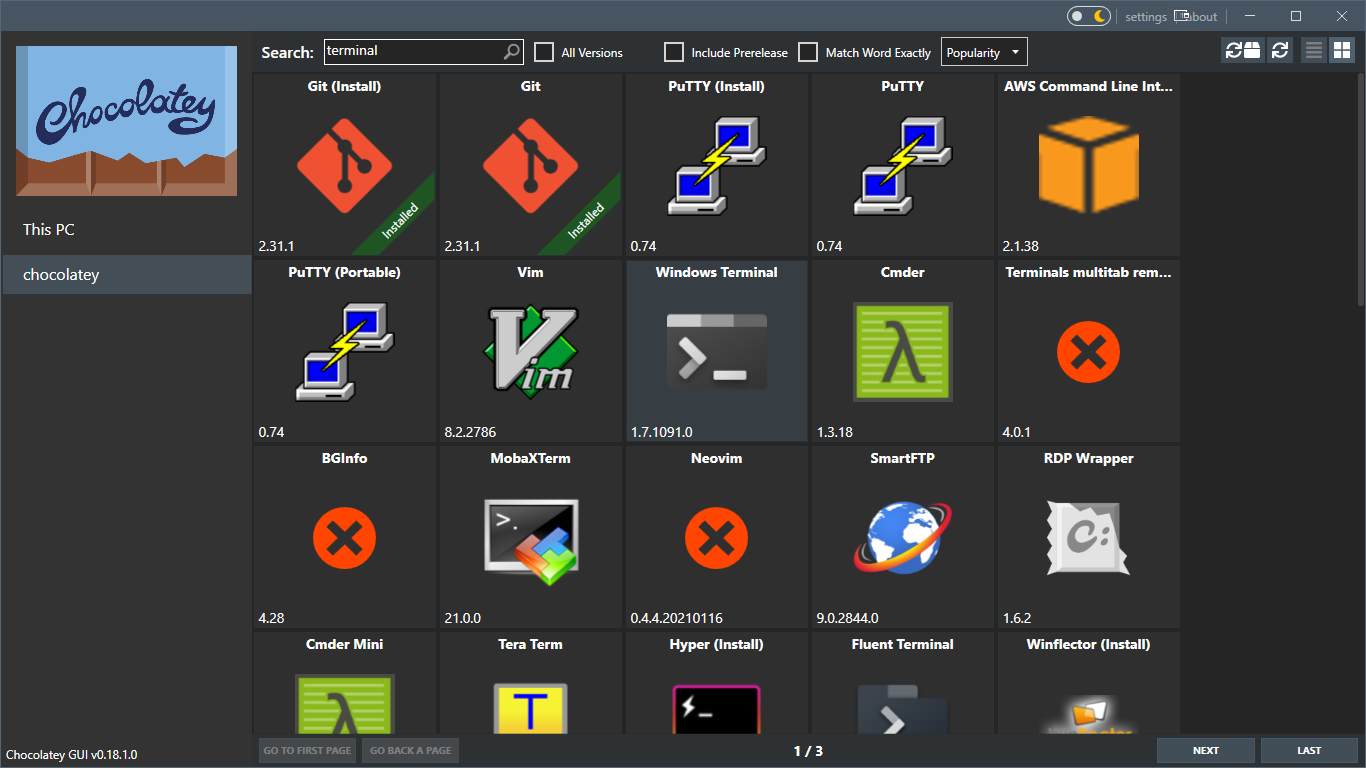
or install the chocolatey GUI and search for packages that way:
choco install chocolateygui
Installing my list of software
I will be utilizing my git repository to install the rest of my software. First I need git on my Windows system:
choco install git
And now we are ready to clone the repository.
cd C:\
git clone https://github.com/acaylor/win_setup.git
You need to open an administrative PowerShell inside my repo and run the my_choco_pkgs.ps1 script:
.\my_choco_pkgs.ps1⚠️ You will likely receive an error related to the system’s execution policy. As with the script above we can bypass the execution policy but it is best practice to review the source code of scripts before executing them on your system. ⚠️
All that script is really doing is installing all of the packages in the mypkgs.config XML file. I can update that file on my git repository as I install new software through Chocolatey. Now that your software is managed by Chocolatey, you can upgrade your software with one command in an administrative shell:
choco upgrade all -yThe “-y” will answer “yes” to all of the subsequent prompts. You can remove that to review everything that is being upgraded manually. As you can see, Chocolatey makes it extremely easy to install and maintain software on Windows. If you installed the software in my config file, you will get a sneak peek at some of my future projects.
Microsoft PowerToys
If you installed my packages you have access to Microsoft PowerToys. It can also be installed with Chocolatey:
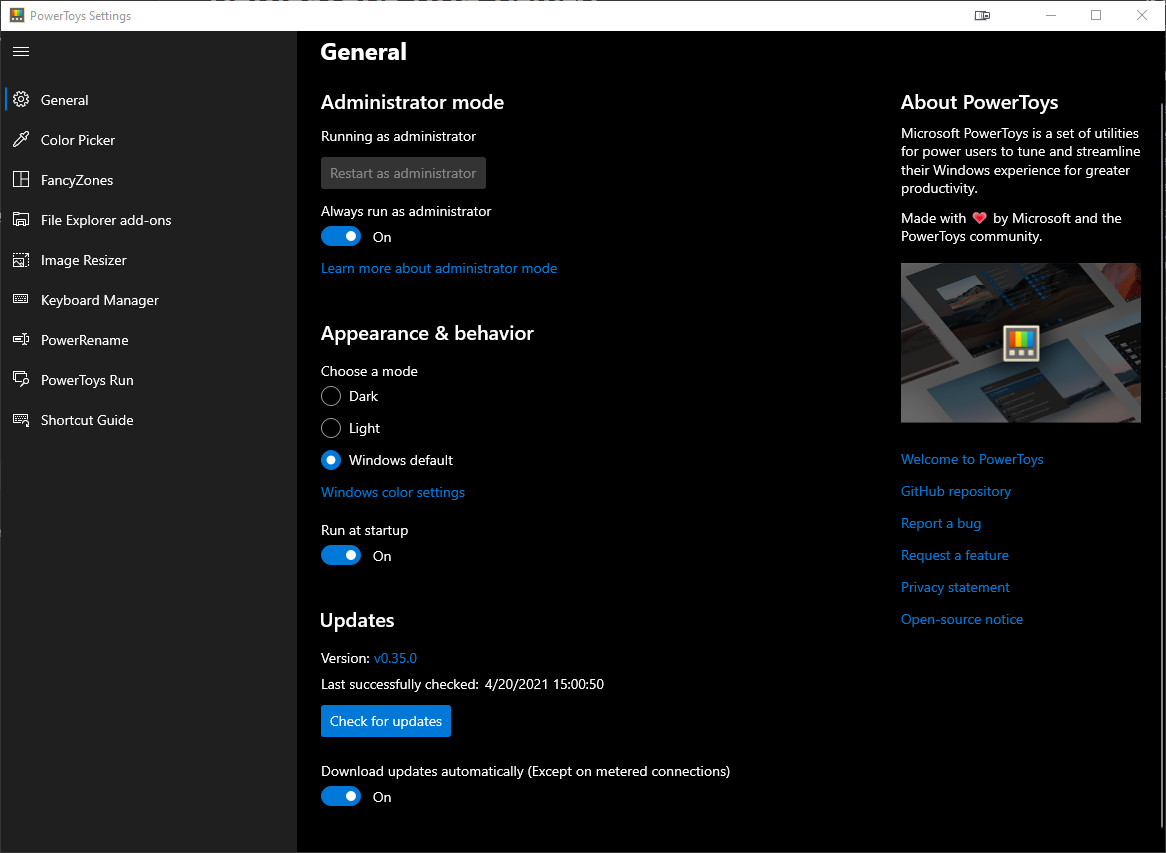
choco install powertoysTo get started open the Start menu and type in “powertoys” to bring up this application. From the Settings, I recommend running this program as admin to leverage all of the features.
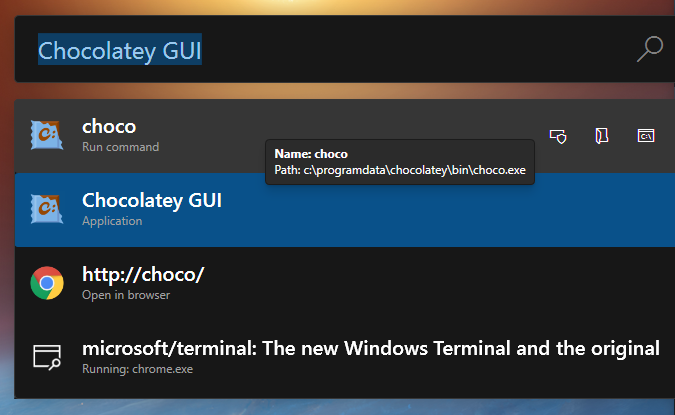
I use PowerToys Run all of the time to find and launch my apps, open files, and even to run terminal commands.
Microsoft Windows Terminal
Another app available on Chocolatey is the Windows Terminal. This is a multi-tabbed command prompt that can run PowerShell and Azure shell right out of the box. It features a GPU accelerated text rendering engine making it a strong option for not only a PowerShell terminal but also a great SSH client.
choco install microsoft-windows-terminal
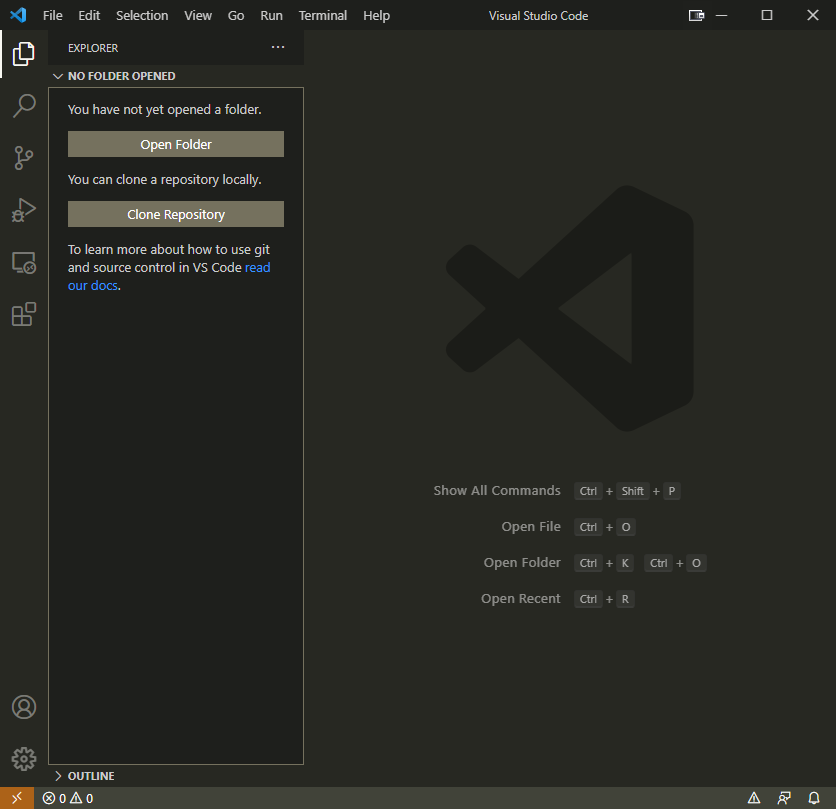
Visual Studio Code
Yet another app available on Chocolatey is Visual Studio Code. This is an app that I use on multiple operating systems to develop all kinds of code. It has plugins for interfacing with other programs and different user created themes.
choco install vscode
Veeam Backup Agent
Everyone who uses a computer should invest in a solution to back up your files. One of the easiest ways to back up a personal computer is with a removable storage device. My personal desktop has a USB storage device attached where daily system image backups are stored.
I use a software for my personal desktop called Veeam Backup Agent.
choco install veeam-agent
Configuring a Backup
Open this app up by going to the Start menu and typing “Veeam Agent for Microsoft Windows”.
- First, create Veeam Recovery Media
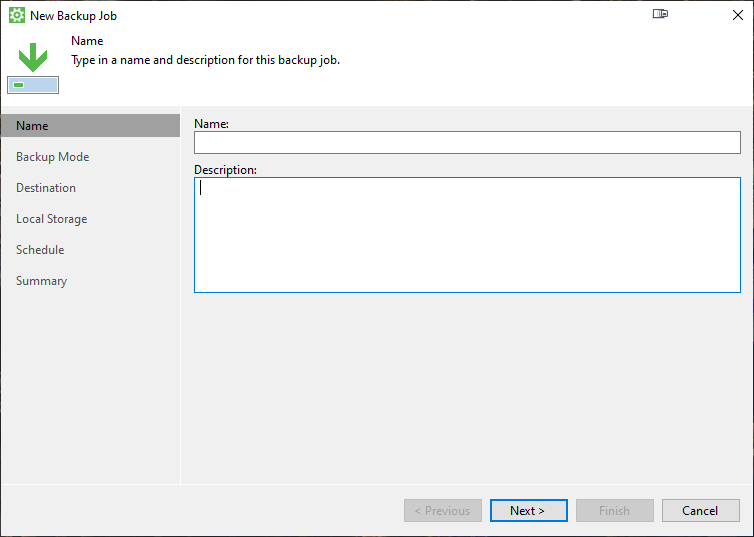
The recovery media can be installed to a USB storage device and if your computer fails to start or your disk drive goes bad, you can boot this device and restore your data. - Next, create a Backup job
Launch the New Backup Job wizard by going to the Start menu and searching for “Configure Backup”.
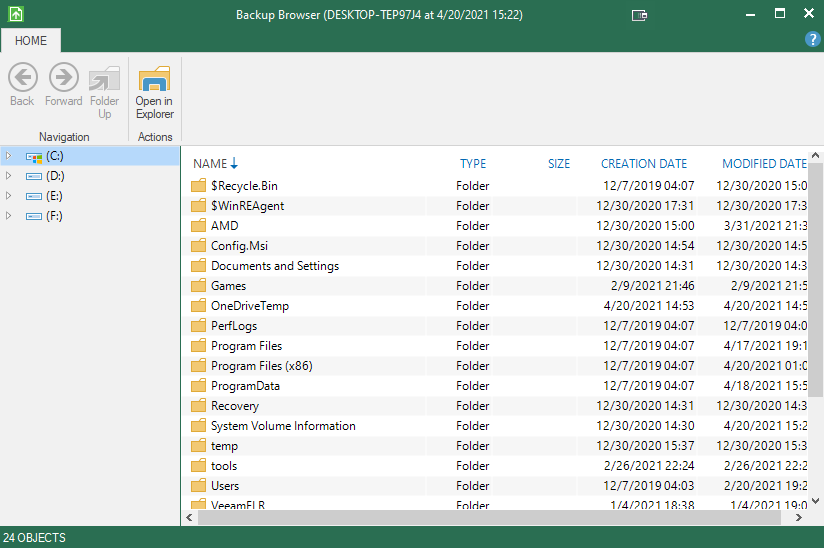
Restoring Deleted files
If you system does not boot or if your disk drive dies, you will need to utilize the Veeam Recovery Media to restore entire disk images but you can also use your backups to restore files that you may have accidentally deleted.
Open the Start menu and type “File Level Restore” and open that app.
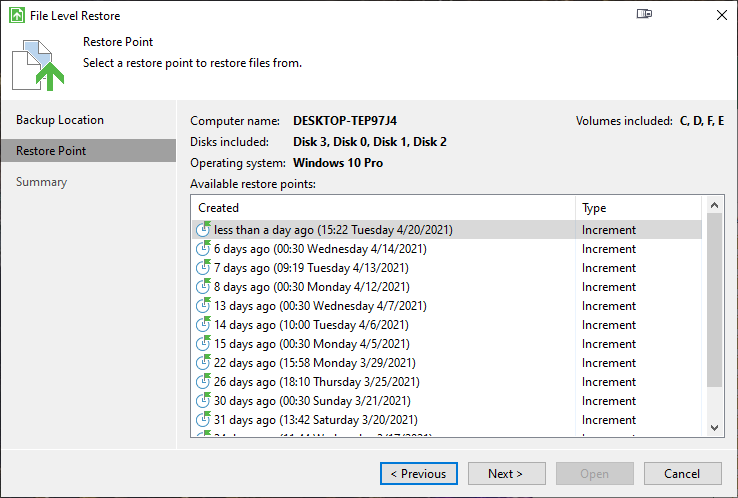
From here you can select a Restore Point from when the file(s) existed. Once you select a restore point and press “Next”, you can browse through the backup to find your files at the location they were on your disk drive.