Configuring a status page in the cloud with uptime kuma
Uptime kuma is an open-source tool for monitoring uptime for
- HTTP(s)
- TCP
- HTTP(s) Keyword
- Ping
- DNS Record
- Push
- Steam Game Server
Updated 2023-05-14
This is one of my more popular posts according to Google and I still use Uptime Kuma. I am going to recreate my own instance and go over how to deploy the app and how to deploy a secure reverse proxy in front of the app.
Install with Docker
Prerequisites
Originally I had set up a virtual machine in the Amazon Web Services Cloud (AWS) but for the purposes of this monitoring app, AWS is too expensive. All you need is a small virtual machine running in a cloud provider with a public IP address and you can host your own web app and secure gateway using containers running in your virtual machine.
If you are not familiar with virtual machines, I recommend checking out a previous post before tackling a project like this.
I recommend searching for cheap providers. I heard Oracle Cloud has an always free tier which would be a great option.
The second thing you need is a public domain that you own so you can register your website to be accesible over the internet. Check online for providers, there are big companies like godaddy and Google and Namecheap if you are in North America. You will need to create a DNS record in your domain that points to the server hosting the app.
Compose template
Uptime Kuma can run as a standalone container but this example will include an additonal container to handle HTTPS (encryption) and rotating the TLS certificates.
In order to follow with this example, you need a Linux server with a container run-time such as Docker or Podman. There are previous posts about getting started with Docker and alternatives to docker.
Below is a yaml format file to define one or more containers that will be on a private network together and each will need some persistent storage.
docker-compose.yml
---
version: '2.1'
services:
  uptime-kuma:
    image: louislam/uptime-kuma:1
    container_name: uptime-kuma
    volumes:
      - uptime_data:/app/data
    restart: unless-stopped
  swag:
    image: ghcr.io/linuxserver/swag
    container_name: swag
    cap_add:
      - NET_ADMIN
    environment:
      - PUID=1100
      - PGID=1100
      - TZ=America/New_York
      - URL=status.example.com # This needs to be changed to a domain name that you own
      - VALIDATION=http # This is for TLS cert. The domain above needs to exist first
    volumes:
      - swag_config:/config
    ports:
      - 443:443
      - 80:80
    restart: unless-stopped
volumes:
  swag_config: {}
  uptime_data: {}
Upgrading to new versions
Run these commands in the directory with the docker-compose.yml template:
docker compose pull
docker compose up -d
Configure proxy
SWAG image comes with a list of preset reverse proxy configs for popular apps and services. This container “Secure web application gateway” is maintained by the folks at linuxserver.io. There is a template for uptime kuma but it uses the subdomain method which is not desired on a resource limited virtual machine. Create a new file in the /config/nginx/proxy-confs directory.
You can open a shell into swag container:
docker exec -it swag /bin/bashOnce in the container shell:
cd /config/nginx/proxy-confs
nano uptime-kuma.subfolder.conf
location / {
# enable the next two lines for http auth
#auth_basic "Restricted";
#auth_basic_user_file /config/nginx/.htpasswd;
# enable the next two lines for ldap auth, also customize and enable ldap.conf in the default conf
#auth_request /auth;
#error_page 401 =200 /ldaplogin;
# enable for Authelia, also enable authelia-server.conf in the default site config
#include /config/nginx/authelia-location.conf;
include /config/nginx/proxy.conf;
include /config/nginx/resolver.conf;
set $upstream_app uptime-kuma;
set $upstream_port 3001;
set $upstream_proto http;
proxy_pass $upstream_proto://$upstream_app:$upstream_port;
}Inside that conf file, the location is set to / {, which will cause an issue because there is already a location defined for / inside the default site config for SWAG.
cd /config/nginx/site-confs

nano default.conf
So we need to edit the default site config at /config/nginx/site-confs/default.conf and comment out the location block for / inside our main server block so it reads:
    #location / #{
    #    try_files $uri $uri/ /index.html /index.php?$args =404;
    #}
There will be other lines within the location / block so make sure they are all commented out with the # character. When lines include that character, the nginx server will ignore the characters that come after the #
Now nginx will use / (base URL) for the proxy config only. Uptime Kuma will be the only service behind this server. If you have a beefier server, you could explore other applications SWAG supports on their official documentation.
Restart SWAG container to load the new configuration:
docker restart swagLog in to your new app
Now proceed to the URL of the system with the containers and uptime kuma should be in setup mode. This URL should be a DNS record that points to the IP address of your server. Make sure that port 80 and 443 are open in any firewall configurations so that you can access the application from the internet.
To recap, in order to access your app over the internet, you need to set up the following items and check the DNS record for your domain is set to the IP address of your server.
- a domain you own
- a virtual server in the cloud
- A DNS record in your domain that points to your virtual server
Configure a new user and password and you will be taken to the dashboard. Sites can be added by selecting “Add New Monitor”
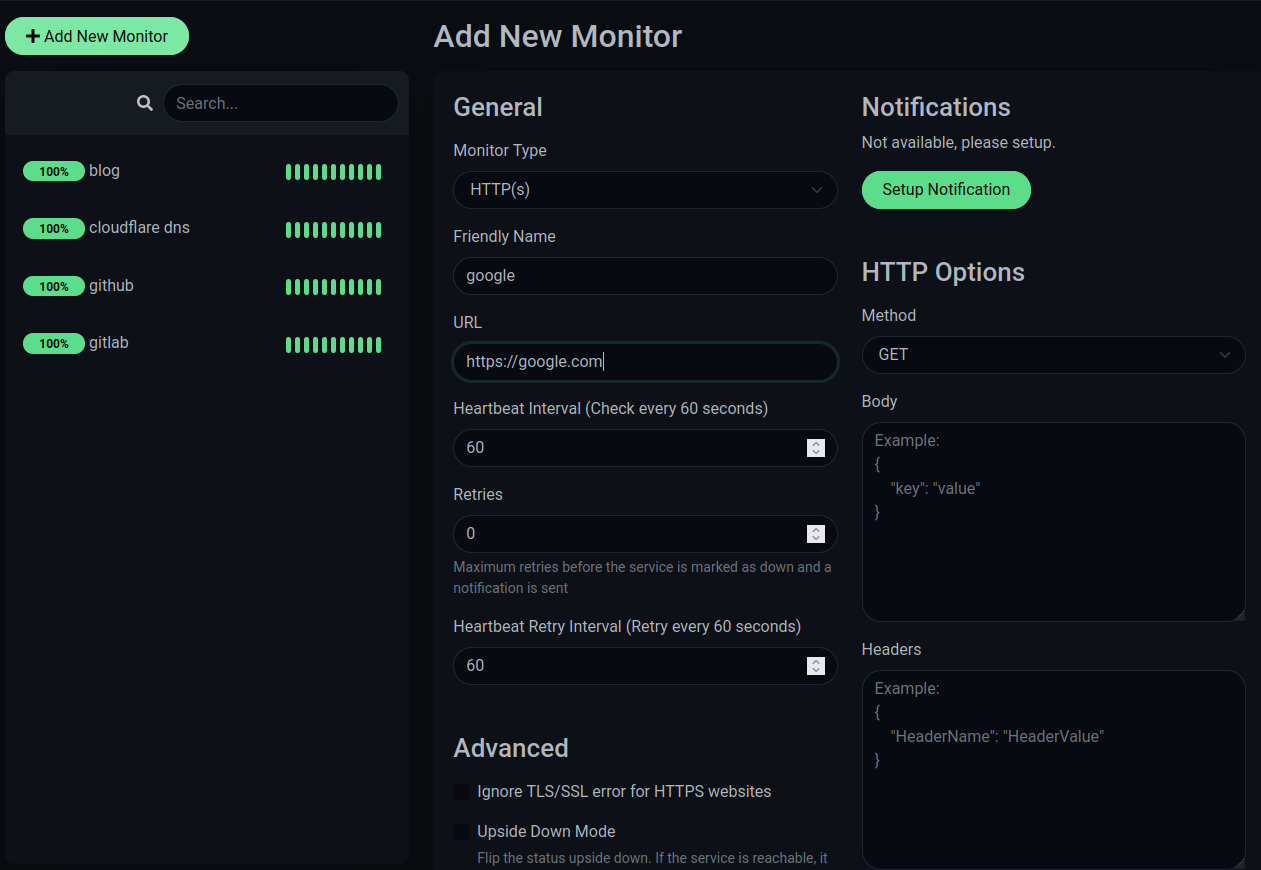
To monitor a website all you need is to fill out the “URL” text box and scroll down and select “Save”.
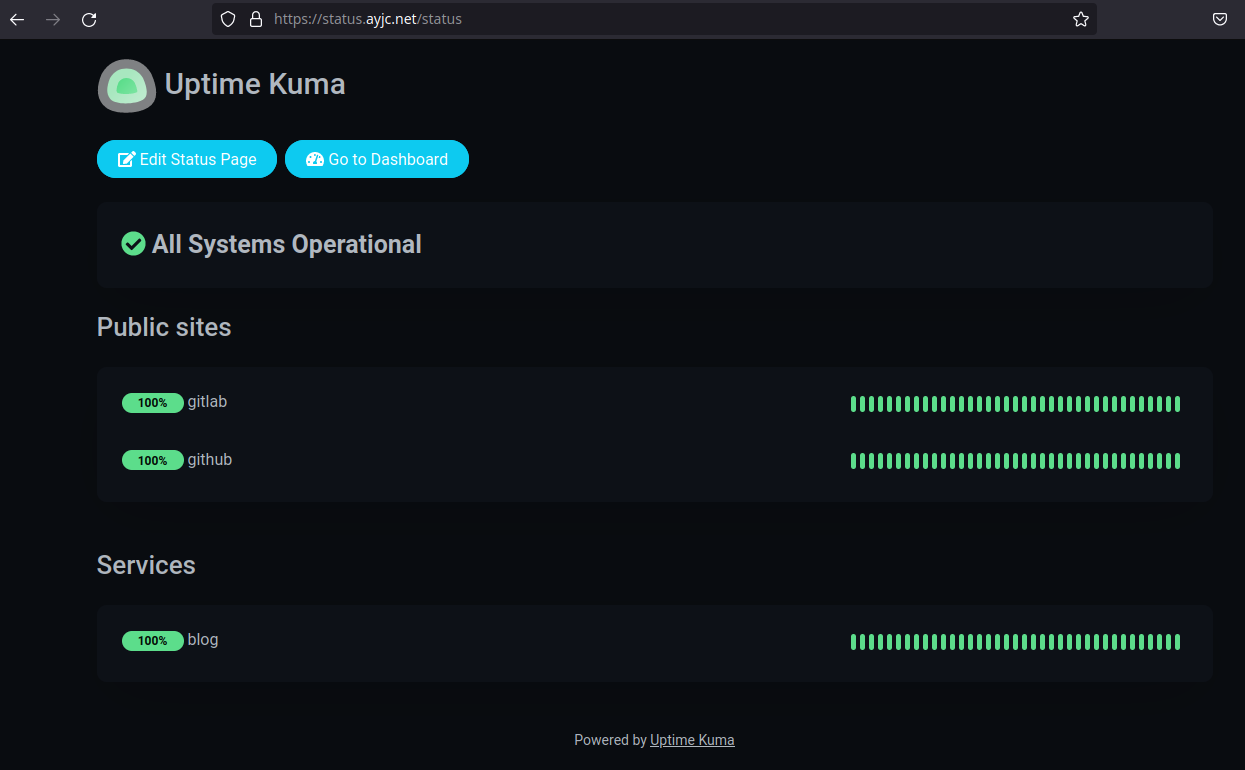
The dashboard requires authentication but the status page will be publicly accesible: