Proxmox Installation
Proxmox Virtual Environment is an open-source Linux distribution for virtualization. It tightly integrates KVM hypervisor and LXC, software-defined storage, and networking functionality on a single platform. With the integrated web-based user interface you can easily manage Virtual Machines and containers.
System Requirements
- CPU: 64bit
- Intel VT/AMD-V capable CPU/Mainboard
- Minimum 1 GB RAM
- 128 GB disk drive (Any less is not much to work with)
Installation
- Download the ISO image installer from Proxmox.
- Create USB installation media with a tool like Etcher or mount the .iso image on a virtual disk drive in a VirtualBox VM. See my previous post on creating USB media.
- Once you boot the installation image, you can proceed if you see the following screen:
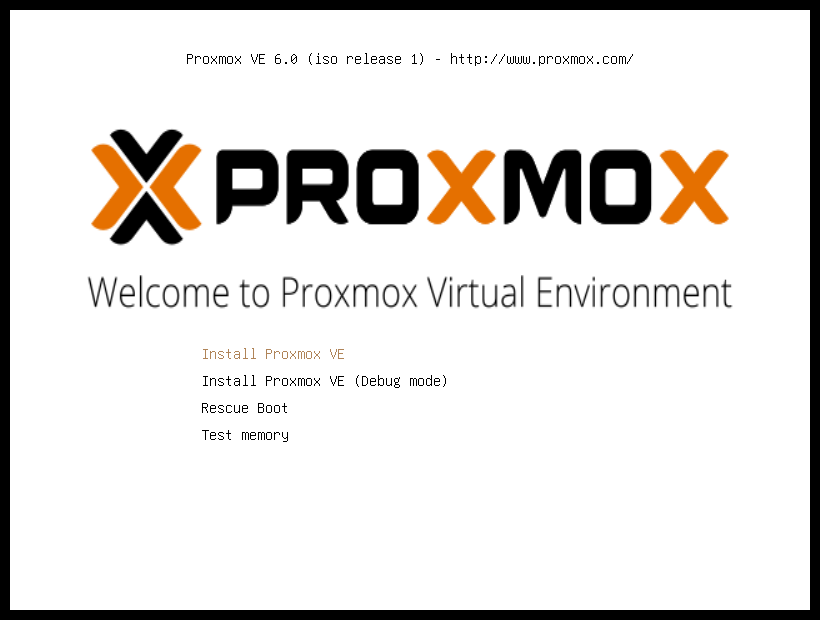
-
Proceed through the installation wizard and when you are done you can access Proxmox through the web. Navigate to the IP address or hostname of your Proxmox installation:
https://ip.of.proxmox.host:8006 -
The web app runs on port 8006 by default which is why you must specify
:8006in your browser. Your browser will display a warning because, by default, the certificate used by the Proxmox web service is self-signed. If chrome does not let you proceed, type with no spaces in the browser: thisisunsafe
Next steps
Once you have installed Proxmox, I suggest taking a look at the Proxmox Wiki.
- Virtual Machines: https://pve.proxmox.com/wiki/Qemu/KVM_Virtual_Machines
- Containers (LXC): https://pve.proxmox.com/wiki/Linux_Container
Testing Proxmox inside of VirtualBox
Proxmox VE can be installed as a guest on all commonly used desktop virtualization solutions as long as they support nested virtualization. You can test Proxmox in VirtualBox if you would like. Check out my previous post for info on VirtualBox.
- Create a New virtual machine in VirtualBox of Type Linux and Version Debian (64-bit). Give as much memory and storage as you can but this is only a test.
- Now Open the VM Settings > System > Processor > Enable Nested VT-x/AMD-V
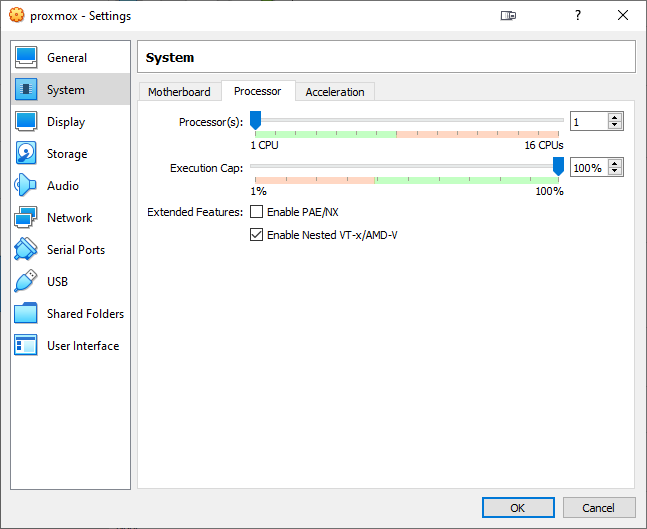
- Now close the Settings and Start the VM.
You should see the Proxmox grub boot menu. Press [ Enter ] to begin the installation. Since this is a test, most defaults can be accepted.
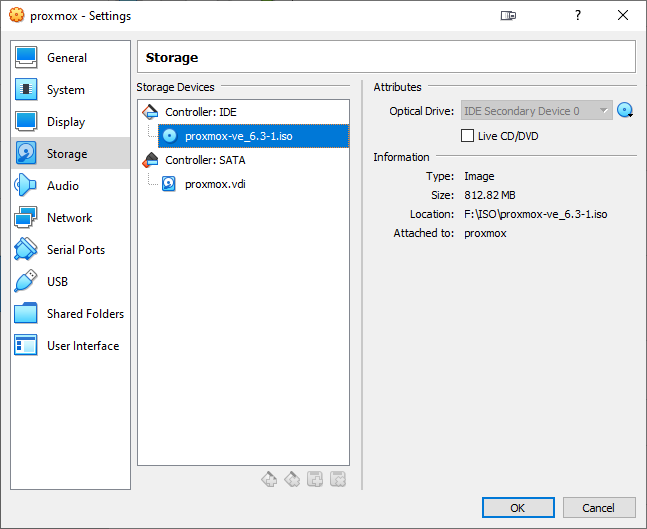
- Once the installation completes the VM may reboot into the installer again. Go ahead and shutdown the VM and remove the installer .iso from the Optical Drive. In the menu where you can select images, there should be an entry to “Remove Disk from Virtual Drive”
Port forwarding
Before closing the settings, you will want to port forward 8006 TCP and possibly 22 TCP to your host system. This is because by default, VirtualBox will use NAT (Network Address Translation) on the virtual network adapter. This will provide internet access to the VM but your host system will not have a route to connect to network ports on the VM.
Port 8006 is used for the Proxmox Web app that you can use in your browser and port 22 can be used for SSH to remotely manage the system through the command line.
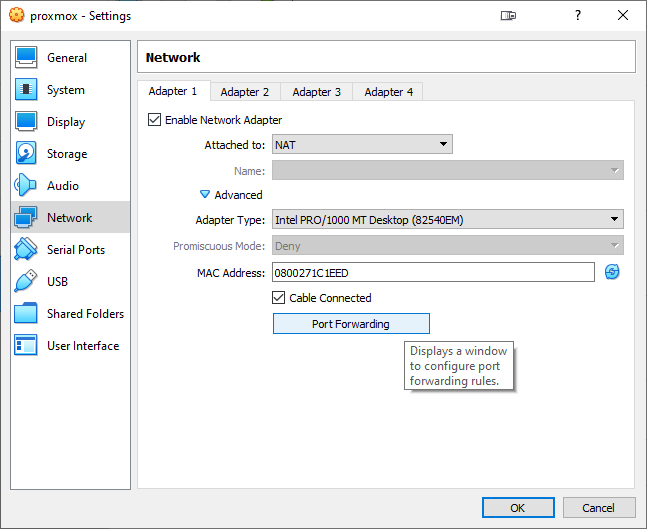
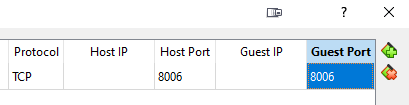
Enter 8006 for host + guest ports for the Web interface and/or 22 for SSH access.
Make sure the protocol is TCP.
⚠️ If you are on Windows and you get a prompt from Windows Security, select “Allow” for the VirtualBox program to modify network settings. ⚠️
You can now restart the VM and access the Proxmox VM from localhost ports. The web interface would be accessible for example: https://localhost:8006/
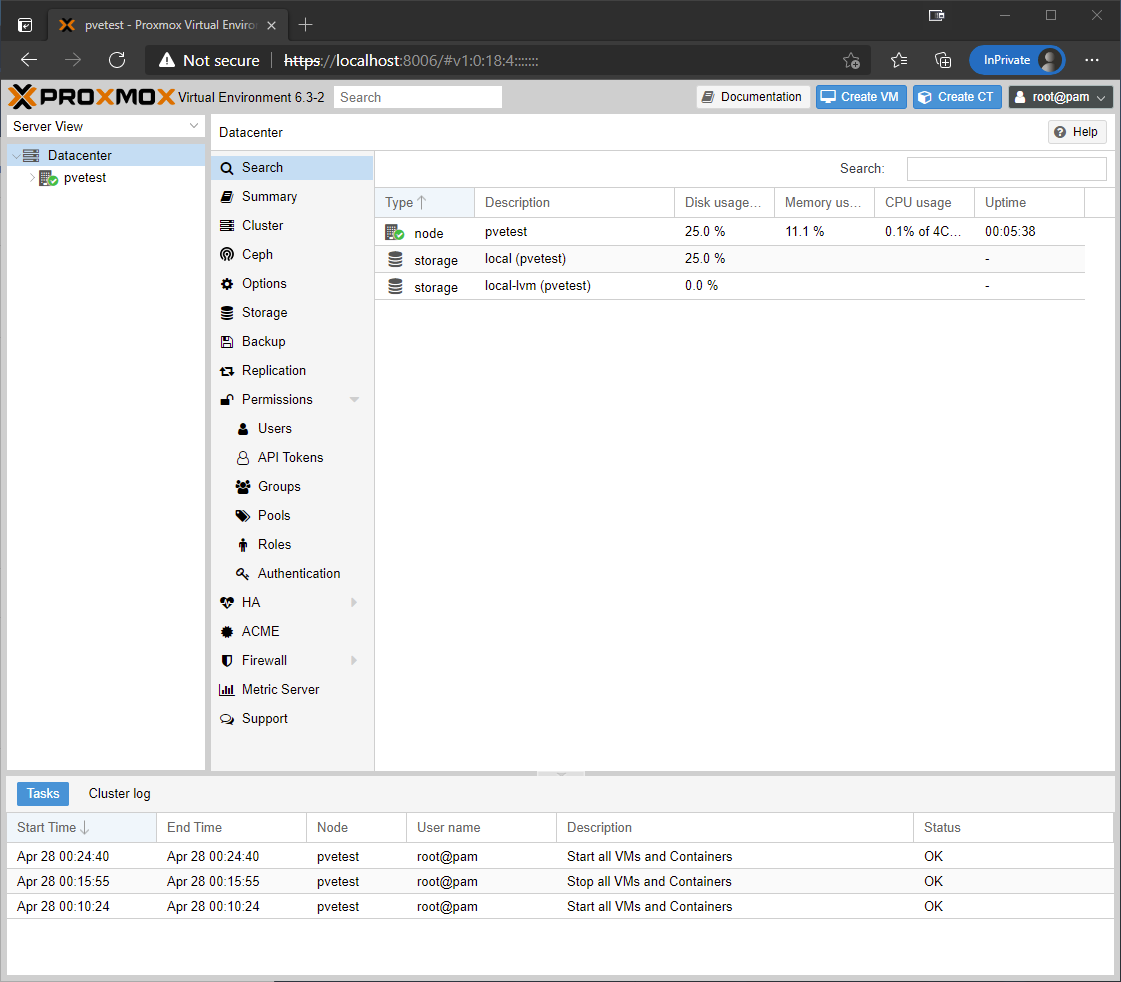
You can even create nested VMs now as long as you enabled the feature in the earlier step.
Cleanup
To clean up everything, simply right click the vm or select the vm and navigate to the menu “Machine” + “Remove…” and select “Delete all files”.