Homelab VPN with Wireguard
date:
tags: containers docker wireguard linux virtual machine
categories: Homelab Containers Virtual Machines
updated: 2024-02-03
A VPN is a way to create a secure tunnel from a remote network onto your own network. When I am not at home I can still trust my DNS requests and access resources from my personal networks. There are different VPN softwares out there and today I will be setting up WireGuard.

Installing and configuring WireGuard with Docker
In order to run the WireGuard server, I will be using a docker container inside of a virtual machine. In order to keep this post concise, please check out my previous post on docker if you are not familiar with the technology. I also have a post on setting up virtual machines and yet another post on setting up a dedicated system to run virtual machines with proxmox.
Requirements
In order to proceed, you must have a suitable Linux System with docker installed. See above for posts that will help you meet these requirements.
The container image that will be used here is created by the LinuxServer.io team who keep up with regular security updates and publish images that are not affected by the rate limits of the public Docker Hub.
Wireguard template
In order to preserve the configuration of the WireGuard server that is running in a docker container, we can user a docker-compose template. Save the following as a docker-compose.yml file in a location that you will remember and that is not readable by any user.
|
|
Once this template has been saved, the WireGuard server can be started with the following command:
|
|
Upgrading to new versions
Run these commands in the directory with the docker-compose.yml template:
|
|
Port forwarding
Now in order to connect to your WireGuard server from the internet, you must open the associated port in your firewall and if on a consumer ISP, the best bet is to port forward the WireGuard port to your Internet gateway or router provided by your ISP.
In the example above, the server was configured to use port 51820/udp
Configuring a WireGuard client
Now that the WireGuard server is running, note the IP address and/or DNS hostname of the system. Wait a few minutes for the container to initialize and then run the following command to output the container logs:
|
|
Within this output should be a QR code. We can use this to configure a client to connect to the server.
Connect iOS client
To connect an iOS client, download the official client from the Apple App store. Once the application is downloaded, press the + in the upper right to add a new server. In the following menu, select “Create from QR code”. If you lost the QR code, enter the following command in the container shell:
|
|
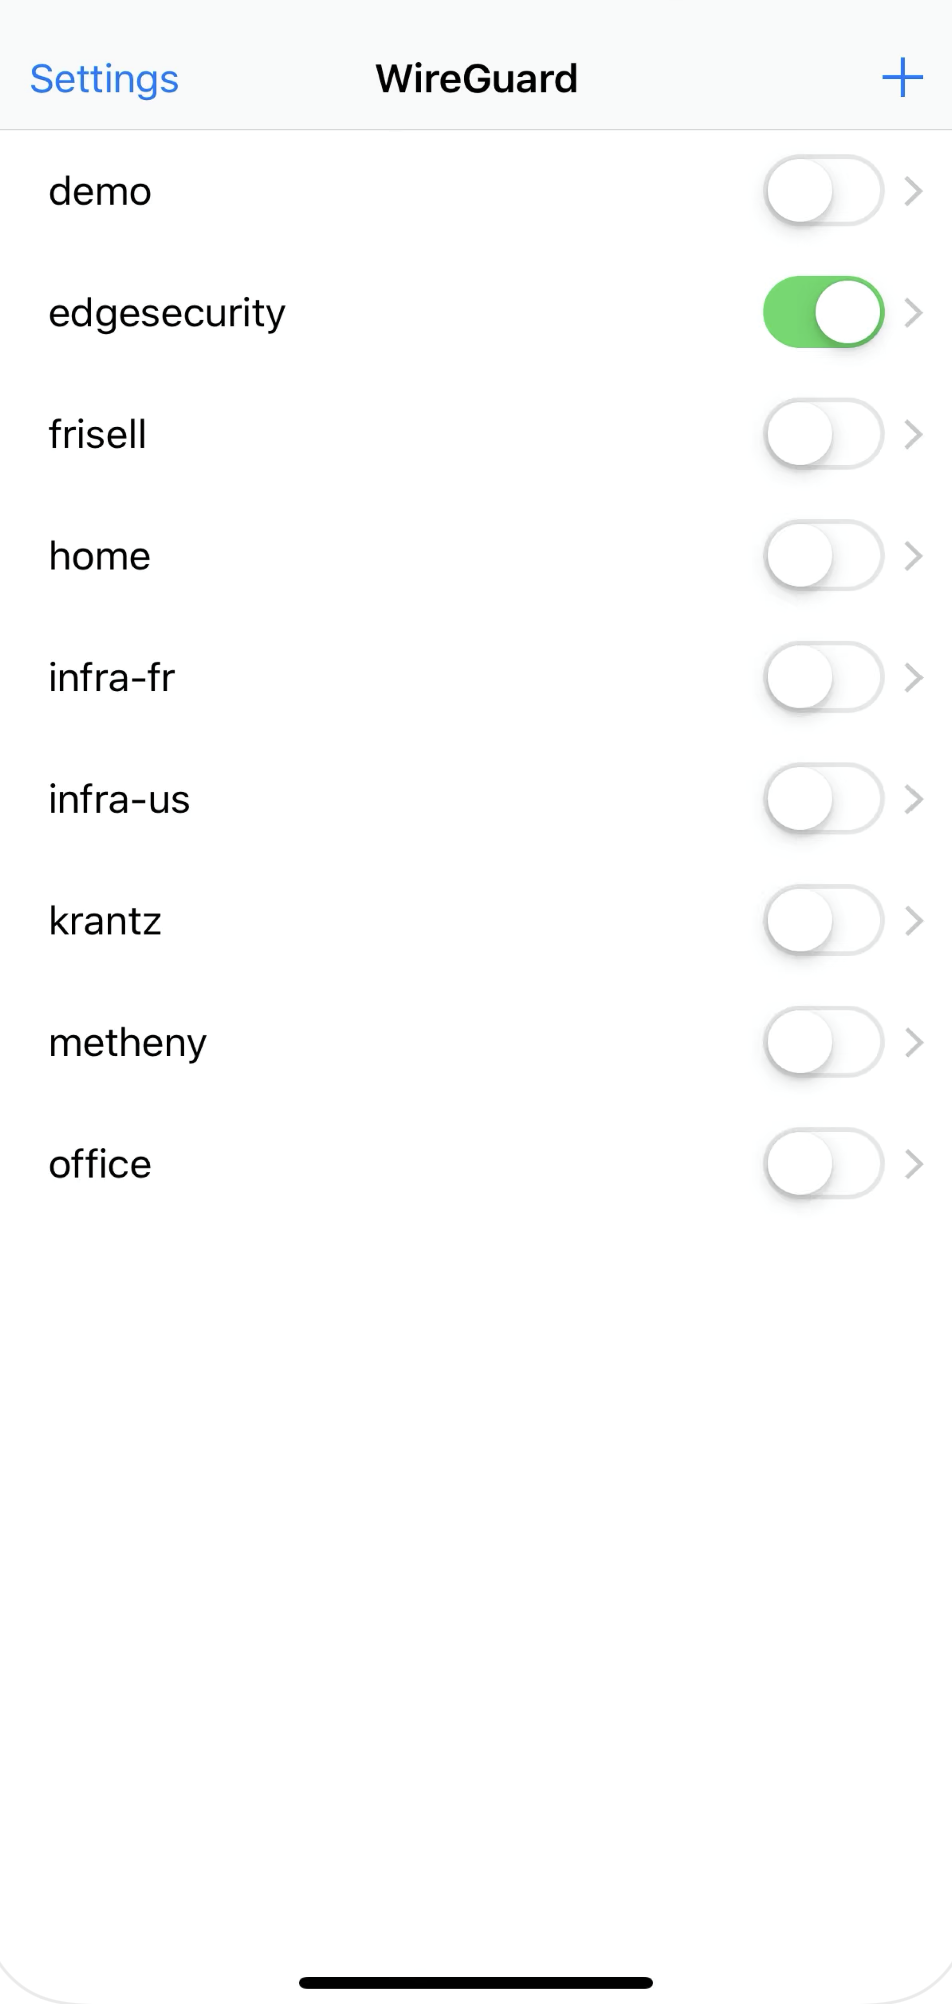
Line up your camera with the output of the docker-compose logs to scan the QR code generated by the wireguard container. Once the code has scanned, you can choose a name for the VPN connection. Now you should be able to toggle on and off the connection through the WireGuard app.